Boudoir photography has a reputation problem it does not deserve. Done properly, it is portrait work in an intimate setting, and the technical demands are the same as any other portrait: soft directional light, a subject who trusts you, and a pose that flatters rather than contorts.
What makes it different is the amount of direction involved. Most clients have never done this, several will be nervous, and the poses rely on subtle adjustments to the angle of a shoulder or a sheet. That is the craft. Nothing here depends on the subject having done it before.
The 31 poses below are arranged by position, followed by the parts that actually decide whether the photographs work: light, wardrobe, styling, directing a first-timer, and editing.
Standing Poses
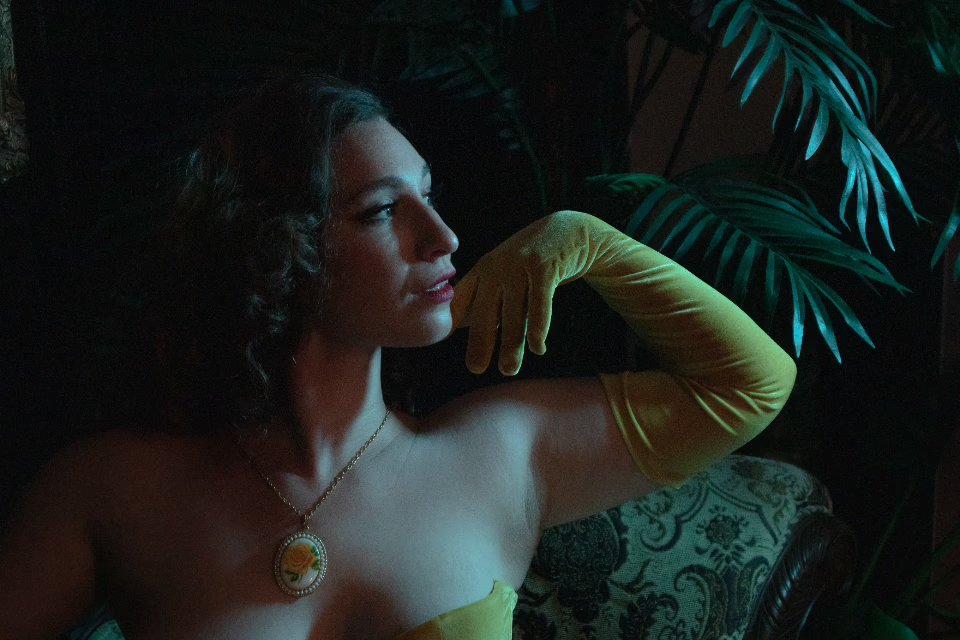
1. Weight on the back foot, hand at the collarbone. Shift the weight onto the foot furthest from the lens, soften the front knee, and rest one hand at the collarbone or a pendant. It narrows the body and gives the hand a purpose.
2. Turned away, looking over the shoulder. Body angled away from the camera, face turned back over the nearer shoulder, chin level. The twist separates the two sides of the face and lengthens the neck.
3. Silk robe half-drawn at the shoulder. One shoulder out of the robe, the other covered, hand loosely holding the fabric. The contrast between covered and uncovered reads as more interesting than either extreme.
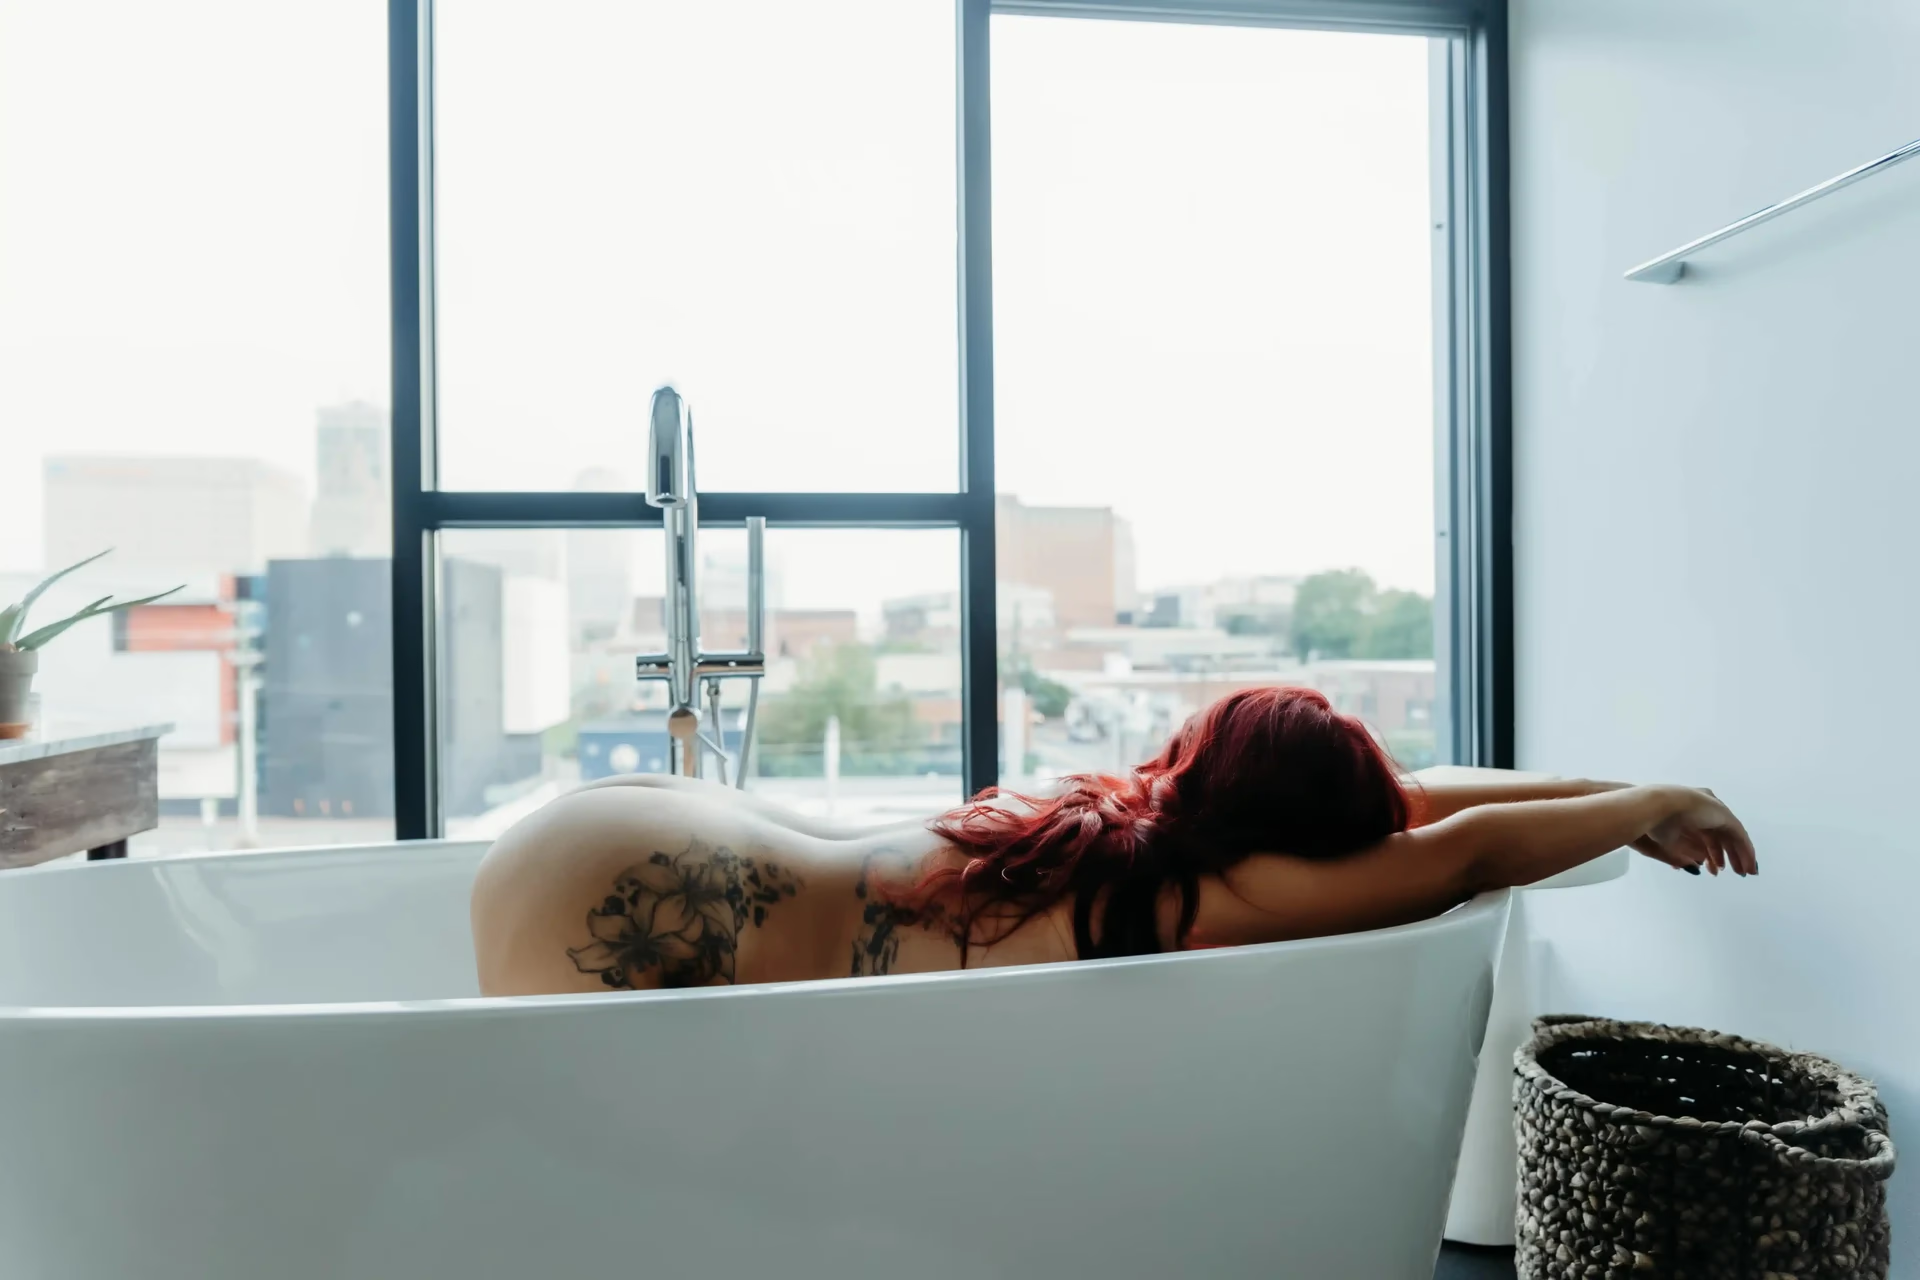
4. Backlit at the window. Stand the subject in front of a bright window with a sheer curtain, expose for the highlights, and let the body fall into silhouette. Shape and line carry the image rather than detail.
5. Arm overhead against a door frame. One arm raised, hand resting on the frame, hip offset to the opposite side. The raised arm creates a long diagonal and fills the space above the shoulders.
6. Hand in hair, elbow lifted. Elbow to roughly shoulder height rather than tucked in. Tucked elbows collapse the silhouette and make the shoulders rise.
7. Sheet wrapped under one arm. A sheet or large piece of fabric held under one arm and falling diagonally across the body. The diagonal gives the eye a path and covers the mid-section without hiding the shape.
8. Wall lean, one knee bent. Shoulder and hip against a wall, one foot flat against it. Walls give the body something to lean into, which removes the stiffness that ruins standing poses.
Seated Poses
9. Perched on the edge of the bed, leaning forward. Sitting on the front third of the mattress, leaning slightly toward the lens with elbows on the knees. Leaning forward reads as engaged, and it avoids the slumped posture that comes from sitting back.
10. Knees drawn up on the floor. Sitting with knees bent toward the chest and arms wrapped loosely around them. Photograph from slightly above so the shape reads as compact and deliberate.
11. Cross-legged on the bed, elbows on knees. Informal and relaxed, with the face resting near the hands. Good for a subject who feels ridiculous standing in front of a backdrop.
12. Seated sideways, twisted back toward the lens. Sitting sideways on a chair or the edge of the bed with the torso rotated back toward the camera. The spiral through the body is one of the most flattering shapes in portrait work.
13. Sitting backwards on a chair. Straddling a chair and folding the arms over the back of it. Confident rather than passive, and the chair back gives the hands a natural resting place.
14. On the floor with the sheet pooled around. Seated on the floor with fabric pooled at the waist, one knee up and the other leg folded. The pooled fabric creates a base and hides the awkwardness of floor posing.
15. At a dressing table, looking into the mirror. A seated pose photographed partly through the mirror, with the subject attending to her own reflection rather than the camera. It reads as private and unposed, which is the entire appeal.
16. Seated on the edge of a bathtub. A clean, hard-edged setting that suits simple draping and hands resting on the rim. Keep it dry unless you have planned the water and the lighting for it.
On the Bed
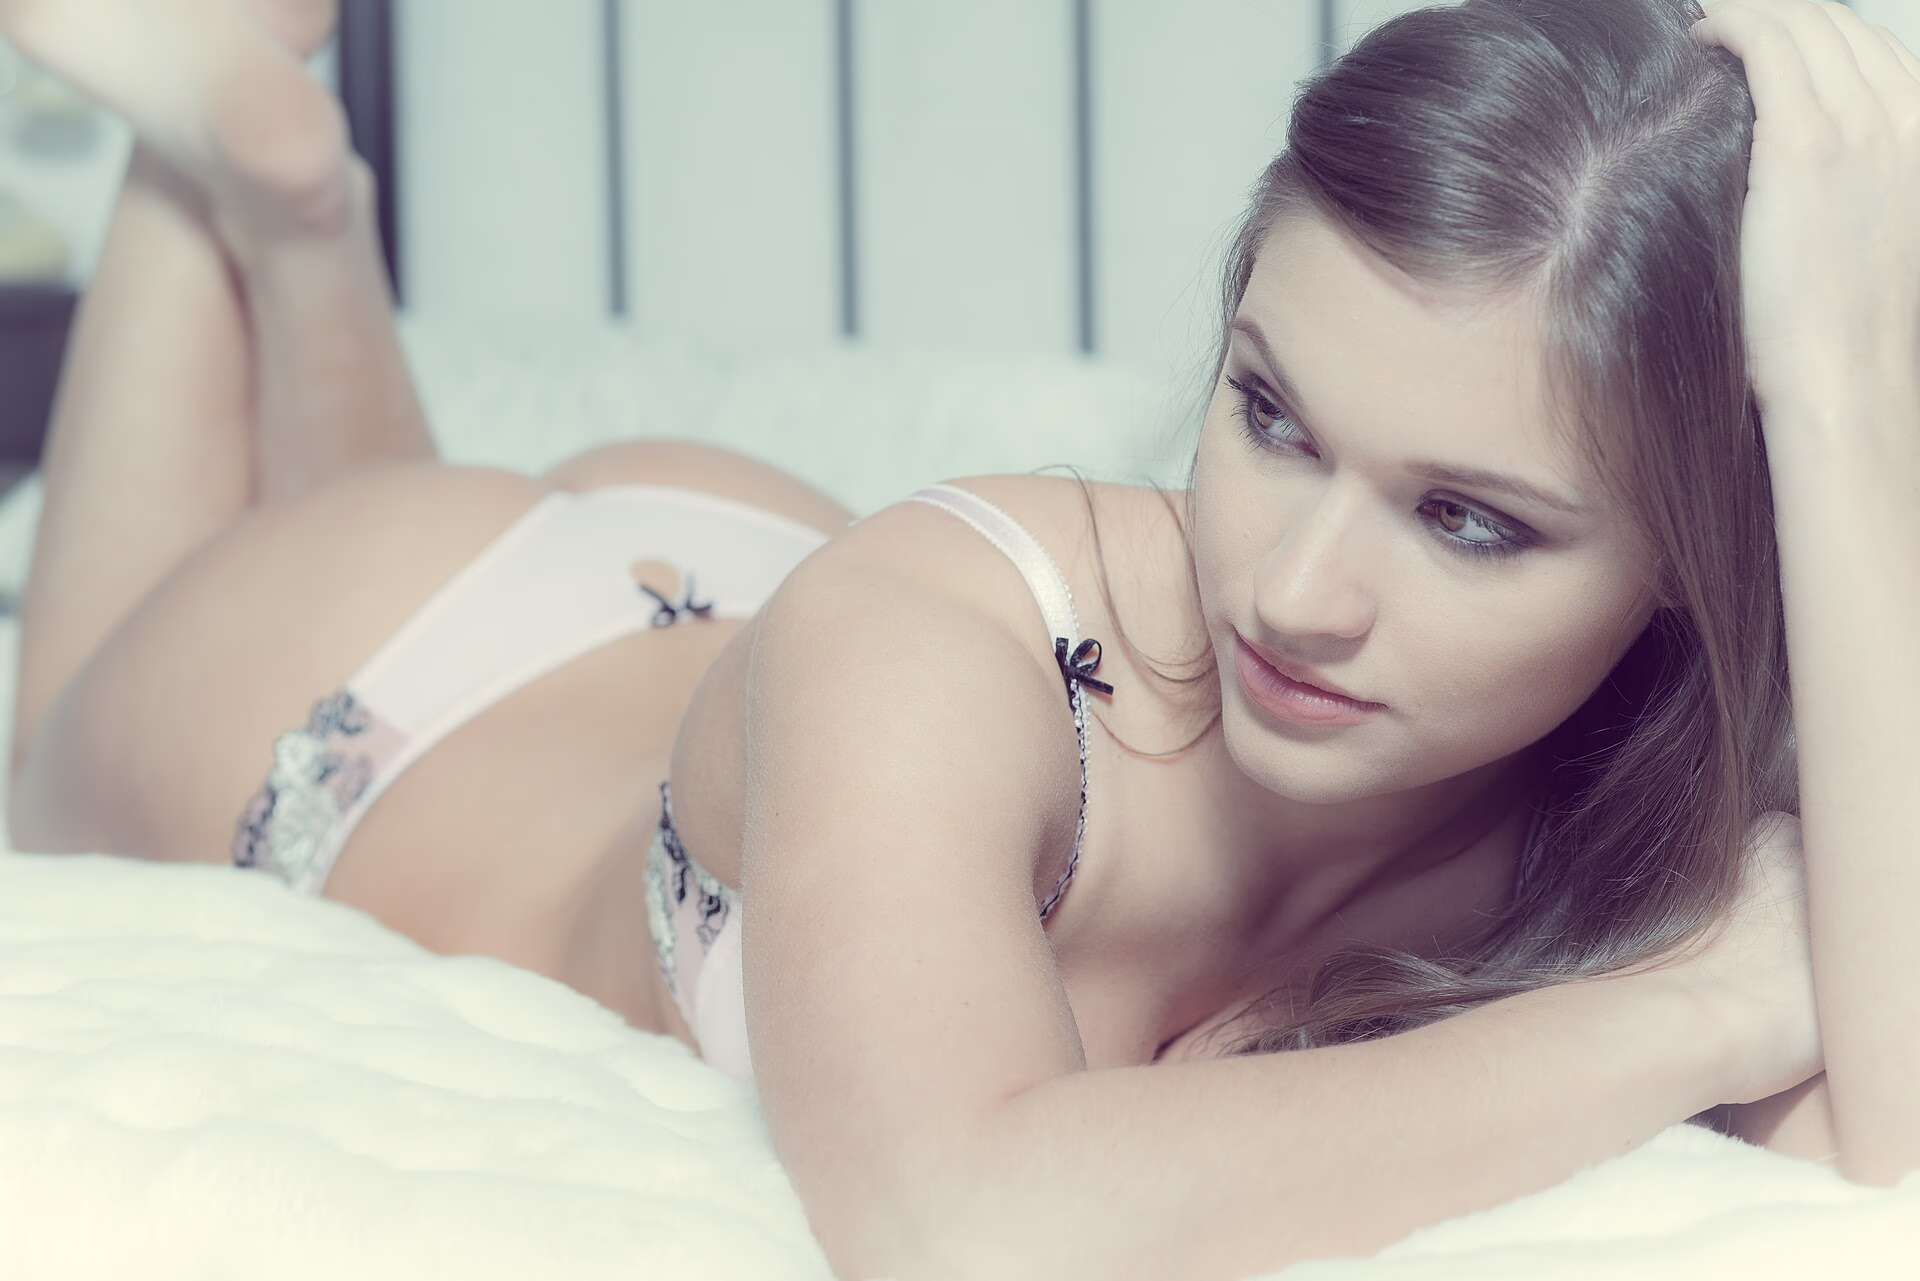
17. Reclining on one side, propped on the forearm. Keep the supporting elbow in front of the shoulder rather than behind it, or the pose collapses backward. Let the upper arm reach forward or rest along the body.
18. On the back, one arm above the head. The stretched arm lengthens the whole body. Photograph from above the feet rather than straight down and the perspective becomes flattering rather than distorting.
19. Face down, propped on the elbows, ankles crossed. Relaxed and easy to hold, with the crossed ankles adding a small deliberate detail. Shoot from a slightly lower angle so the face is not lost against the bedding.
20. Half-covered, one shoulder bare. Fabric drawn up over the body with one shoulder exposed. The transition between covered and uncovered is the compositional event of the frame, so place it deliberately across a third line.
21. Leaning back against a headboard, knees bent. Knees up and slightly apart gives the body a triangle, and leaning back means the spine curves rather than slumps.
22. Lying diagonally across the bed. Placing the body on the diagonal fills the frame and avoids the dead space that comes from lying parallel to the edge.
23. Curled on one side, hands under the cheek. Soft, quiet and easy to hold for a subject who is tired. Works best in low, warm light.
24. Sitting up in bed with the sheet at the waist. Simple, direct and flattering, particularly with a relaxed arm position. Ask the subject to breathe out before you shoot, which drops the shoulders.
Hands and Detail Frames
25. Hands holding the sheet at the chest. Fingers relaxed rather than gripping. Gripping hands read as tension, which is the opposite of what this genre needs.
26. Fingertips at the lower lip. Just resting. Anything harder tips into parody, which is the fastest way to make an intimate portrait look cheap.
27. Hand at the back of the neck. The raised arm and the turned head together create a strong line through the upper body.
28. Hands adjusting a strap. Mid-gesture frames read as observed rather than posed, which suits the genre.
29. Collarbone and shoulder crop. A tight crop that omits the face entirely. Useful in a set to provide rhythm between fuller frames.
30. Ankle and foot detail. Feet resting on a chair, edge of bed or the floor. It sounds incidental and it gives a set an ending that is not another portrait.
31. Head-and-shoulders, eyes down and away. Cropped close, eyes off the lens and downward. It reads as unguarded and closes a set better than another smile.
Light Does the Heavy Lifting
One soft source, slightly to one side and slightly above the subject, is the entire lighting setup for most boudoir work. A window with a sheer curtain is ideal, and a curtain also doubles as a modifier when you need the light softer.
Turn off overhead lights. Ceiling light comes from directly above, casts shadows into the eye sockets and produces an unflattering top-lit look that no amount of editing fixes.
Avoid on-camera flash. It flattens the body, removes the shading that suggests shape, and reflects off skin in a way that reads as harsh.
Pay attention to what the light does as it falls across skin. The transition from highlight to shadow is the thing that describes a body, and it is why a single soft source beats three lights in this genre. If your camera offers reliable eye detection through movement, as the compact mirrorless bodies most photographers use for this work do, it makes a real difference here, because a client shifting position between breaths will fall out of focus on a slower system.
Wardrobe, Styling and the Room
Keep the wardrobe minimal and well-fitted, and advise clients to bring more than they think they need. Lingerie that digs in, straps that have been adjusted too tight, or anything that requires constant readjustment ruins both the photographs and the mood.
Classic pieces work best: a well-fitted set, a silk robe, an oversized shirt, and something in black. Avoid busy prints and large logos, which date quickly and pull the eye away from the subject.
Styling the room matters as much as styling the subject. An unmade bed with visible cables, laundry or a plastic bag in the background turns an intimate photograph into a picture of someone's untidy bedroom. Clear the frame, use one or two props at most, and keep the palette consistent with the subject's clothing.
Soft textures, sheets in a natural fibre, and one piece of furniture that gives the body something to interact with are enough. Candlelight is a reliable mood element, but rely on it for ambience and keep the actual exposure coming from a window or a controlled lamp.
Directing a First-Time Client
Explain every step before you begin, including where you will be standing and why. Uncertainty about what is about to happen is the single biggest source of tension in a first session.
Demonstrate poses with your own body rather than describing them verbally. People interpret verbal descriptions of physical positions in wildly different ways, and a demonstration removes most of that ambiguity.
Talk continuously. Silence plus a shutter sound makes anyone self-conscious, and asking questions gets answers, which get expressions. Show one good frame early, then put the camera screen away so the client looks at you rather than at the back of the camera.
Leave the room while they change. This sounds obvious and it is worth stating, because the professional relationship depends on it being handled well from the first minute.
Editing Without Overdoing It
The temptation in this genre is heavy skin work, and it is the most common reason these photographs look dated a few years later. Smoothing at full strength removes the texture that makes skin look like skin, and the result reads as artificial on any screen larger than a phone.
Lift shadows rather than raising overall exposure, warm the tones slightly, and keep the blacks from crushing. Keep the smoothing slider low enough that pores are still visible in the shadows. A measured, repeatable editing pass, with the same few controls applied in the same order every time, will always beat aggressive processing.
Tips for a Boudoir Session
- Shoot at the client's eye level or slightly above, never from below.
- Keep one soft light source and shape the body with it rather than adding lights.
- Give the subject a job for their hands in every pose. This solves most stiffness on its own.
- Leave gaps between limbs and the body so the silhouette stays readable.
- Use a stool or a low bed edge for seated poses rather than a soft sofa, which swallows posture.
- Clear the background before you start. You cannot remove a plastic bag convincingly later.
- Stop when you have the frames. These sessions get worse when they run long.
Conclusion
The technical requirements of boudoir work are modest: one soft light source, a camera at or slightly above eye level, and a pose that keeps the limbs slightly off the body. What separates a good set from a bad one is direction and comfort.
That means slowing down, explaining what is about to happen, demonstrating rather than describing, and giving the subject something to do at every stage. A client who is relaxed will produce better photographs in twenty minutes than a tense one will in two hours, and the reason is visible in the eyes rather than in the pose.
If you are building a set, plan the sequence in advance: two or three standing frames, a group of seated poses, several on the bed, and two or three detail frames to give the set rhythm. That structure means you are never searching for an idea mid-session while someone is waiting for direction.
FAQ
How many poses should I plan for a boudoir session?
Plan around ten to fifteen and expect to shoot five or six properly. Depth on a few poses, shot from several angles and camera heights, produces better results than rushing through twenty.
What lighting works best for boudoir photography?
One soft source placed slightly to one side and slightly above the subject, ideally a window with a sheer curtain. Turn overhead lights off and avoid on-camera flash entirely.
How do I make a nervous client comfortable?
Explain what will happen before it starts and why, demonstrate poses with your own body rather than describing them, talk throughout the session, and leave the room while they change.
What should a client bring to wear?
A well-fitted lingerie set, a silk robe, an oversized shirt, and something in plain black. Encourage more options than they think they need, and advise against busy prints, large logos and anything that needs constant readjustment.
How much retouching is appropriate?
Enough to remove temporary blemishes and even out tones, and not enough to remove skin texture. Keep smoothing low enough that pores remain visible in the shadows, since heavy smoothing is what makes this work look dated fastest.
Do I need a tripod?
It helps for low angles and for frames where you want your hands free to direct, but most boudoir work is shot handheld at moderate focal lengths. A stable head on a compact tripod is enough, and being able to get the camera down without lying on the floor is the only real requirement.