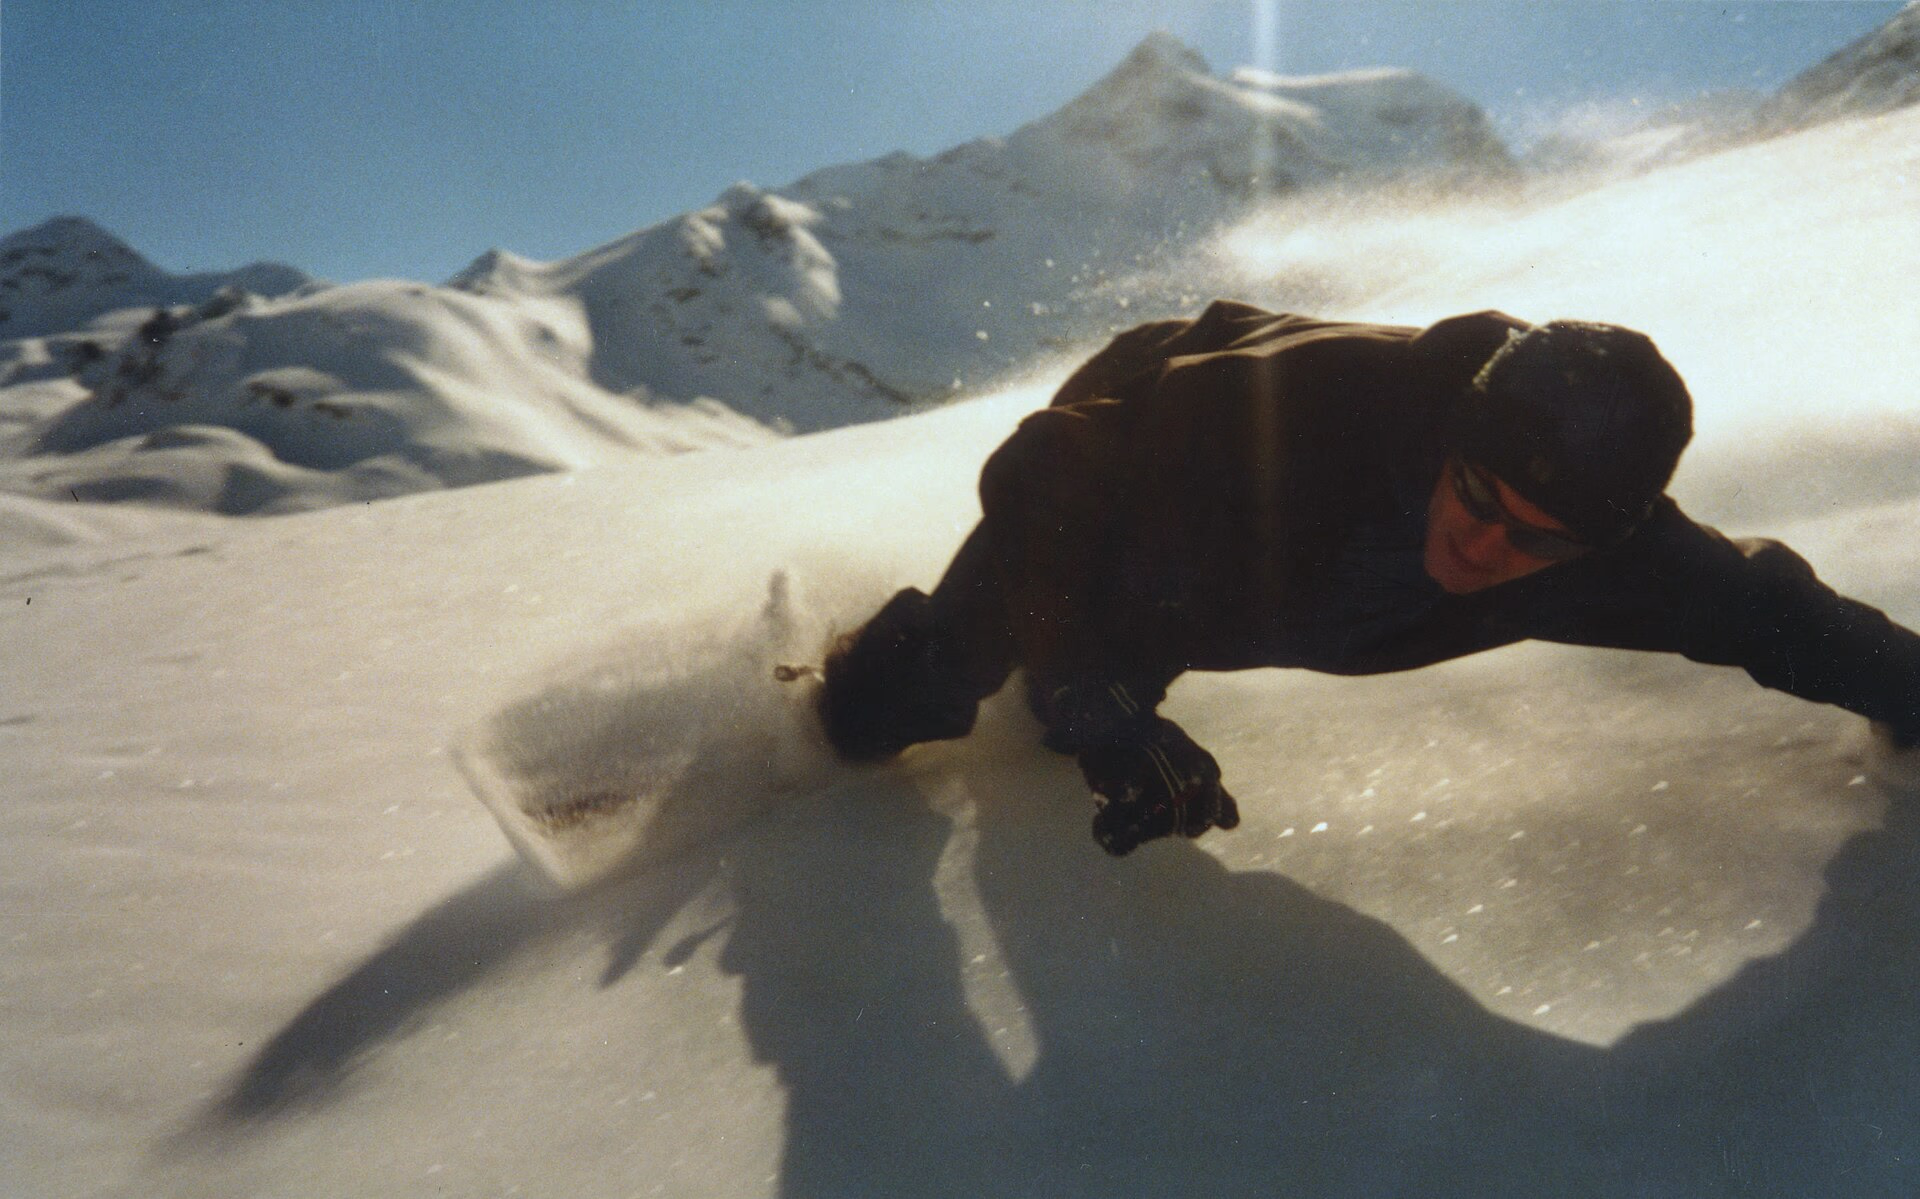
The best snowboard photograph I have taken in ten years came from a rider who was not posing at all. He was trying to stay upright in waist-deep powder, and the turn happened to fall toward the light. I would like to claim I planned it. I did not. I had spent the previous four seasons standing under jump lips getting the same three shots as everybody else.
Snowboarding is genuinely hard to photograph because the good moments are short and the light changes every time a cloud crosses. The rider's body also does most of the interesting work at the exact instants when you cannot see the screen, so you end up trusting your settings, your position and your knowledge of the move. That is why the list below is about moves rather than about standing around looking heroic.
Seven shots, in the order I would chase them on a normal day: what each one looks like at its best instant, where you need to be relative to the sun, and the mistake that quietly wastes the frame.
The Seven Shots Worth Chasing
1. The Method Grab Mid-Air
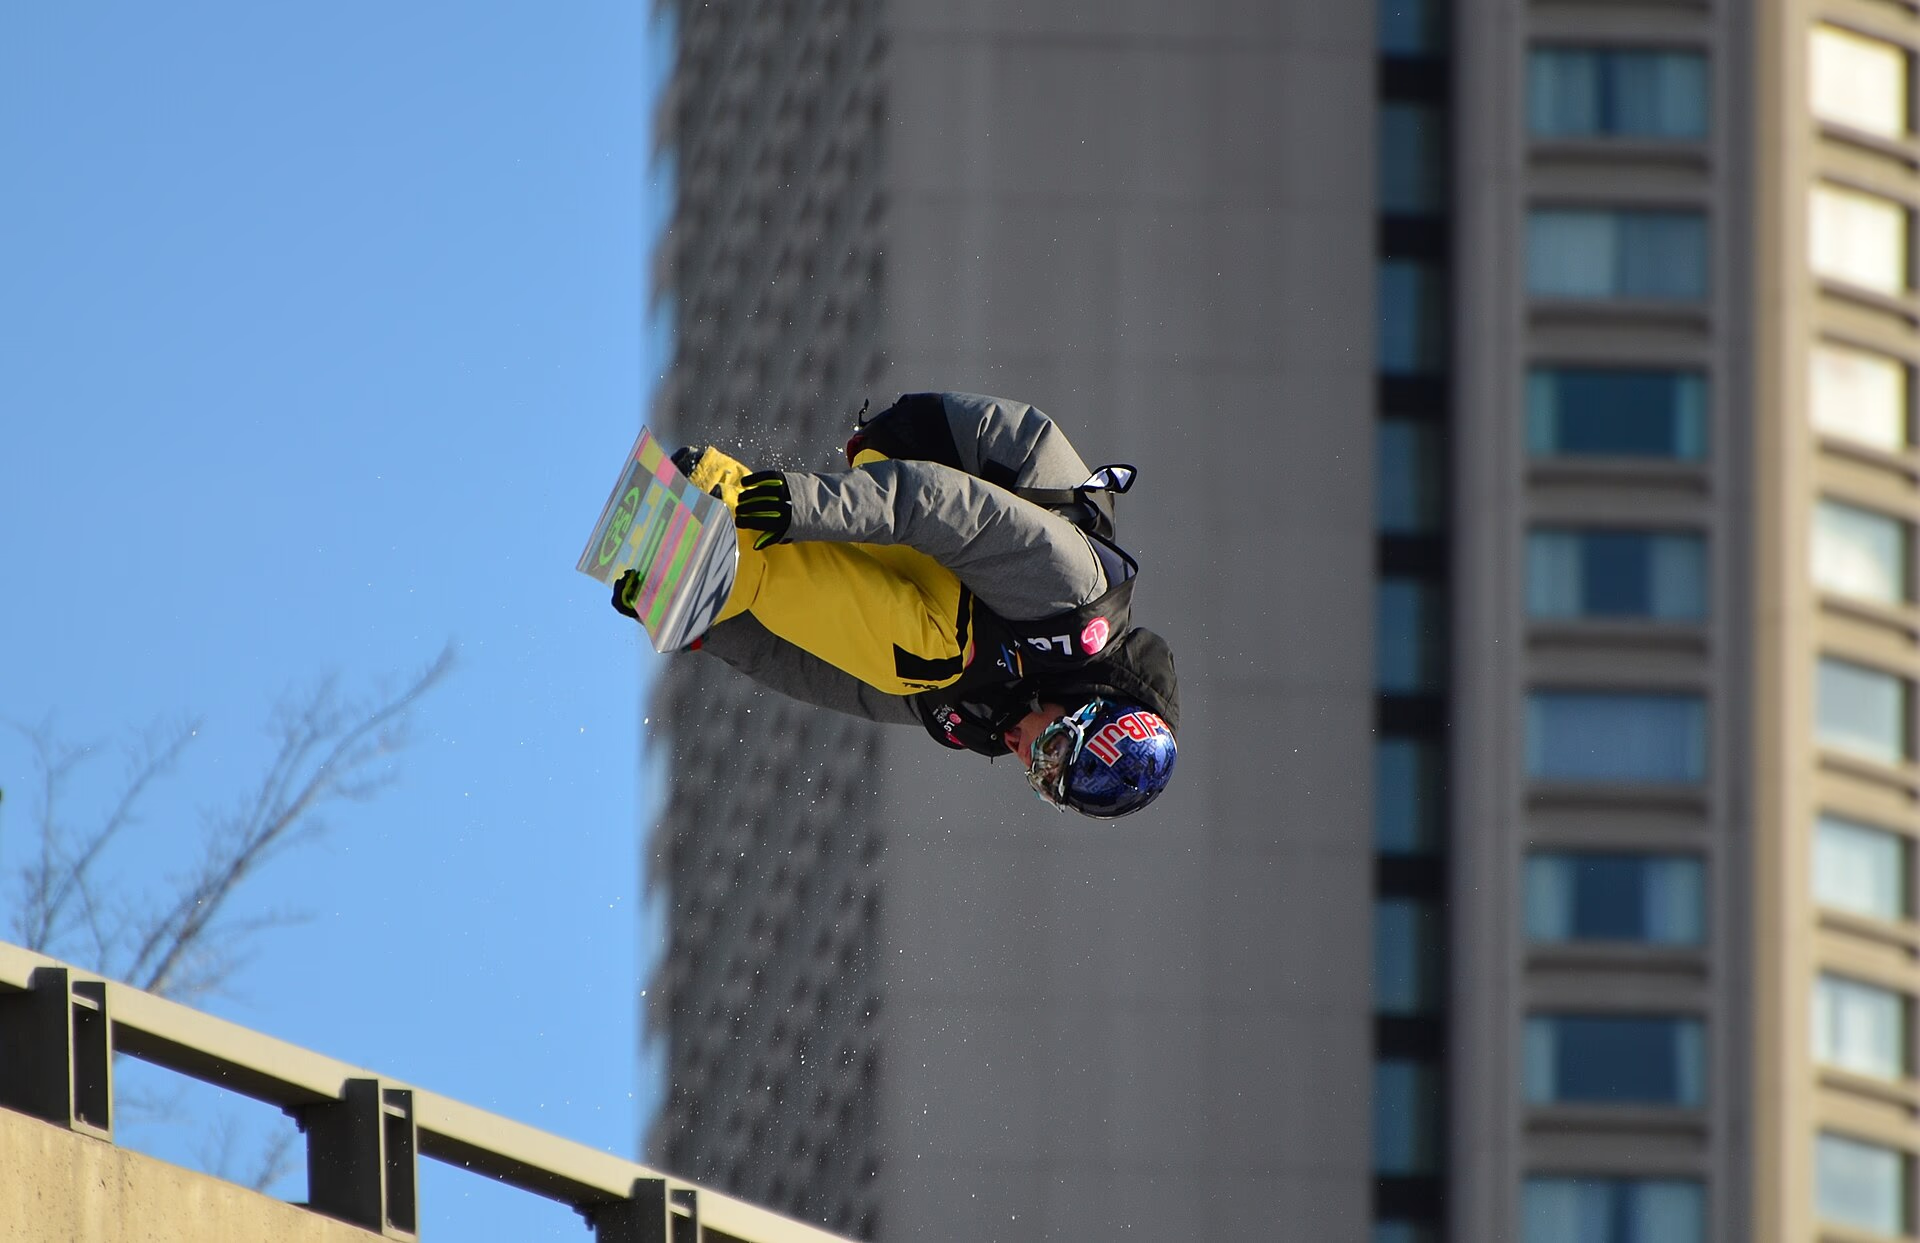
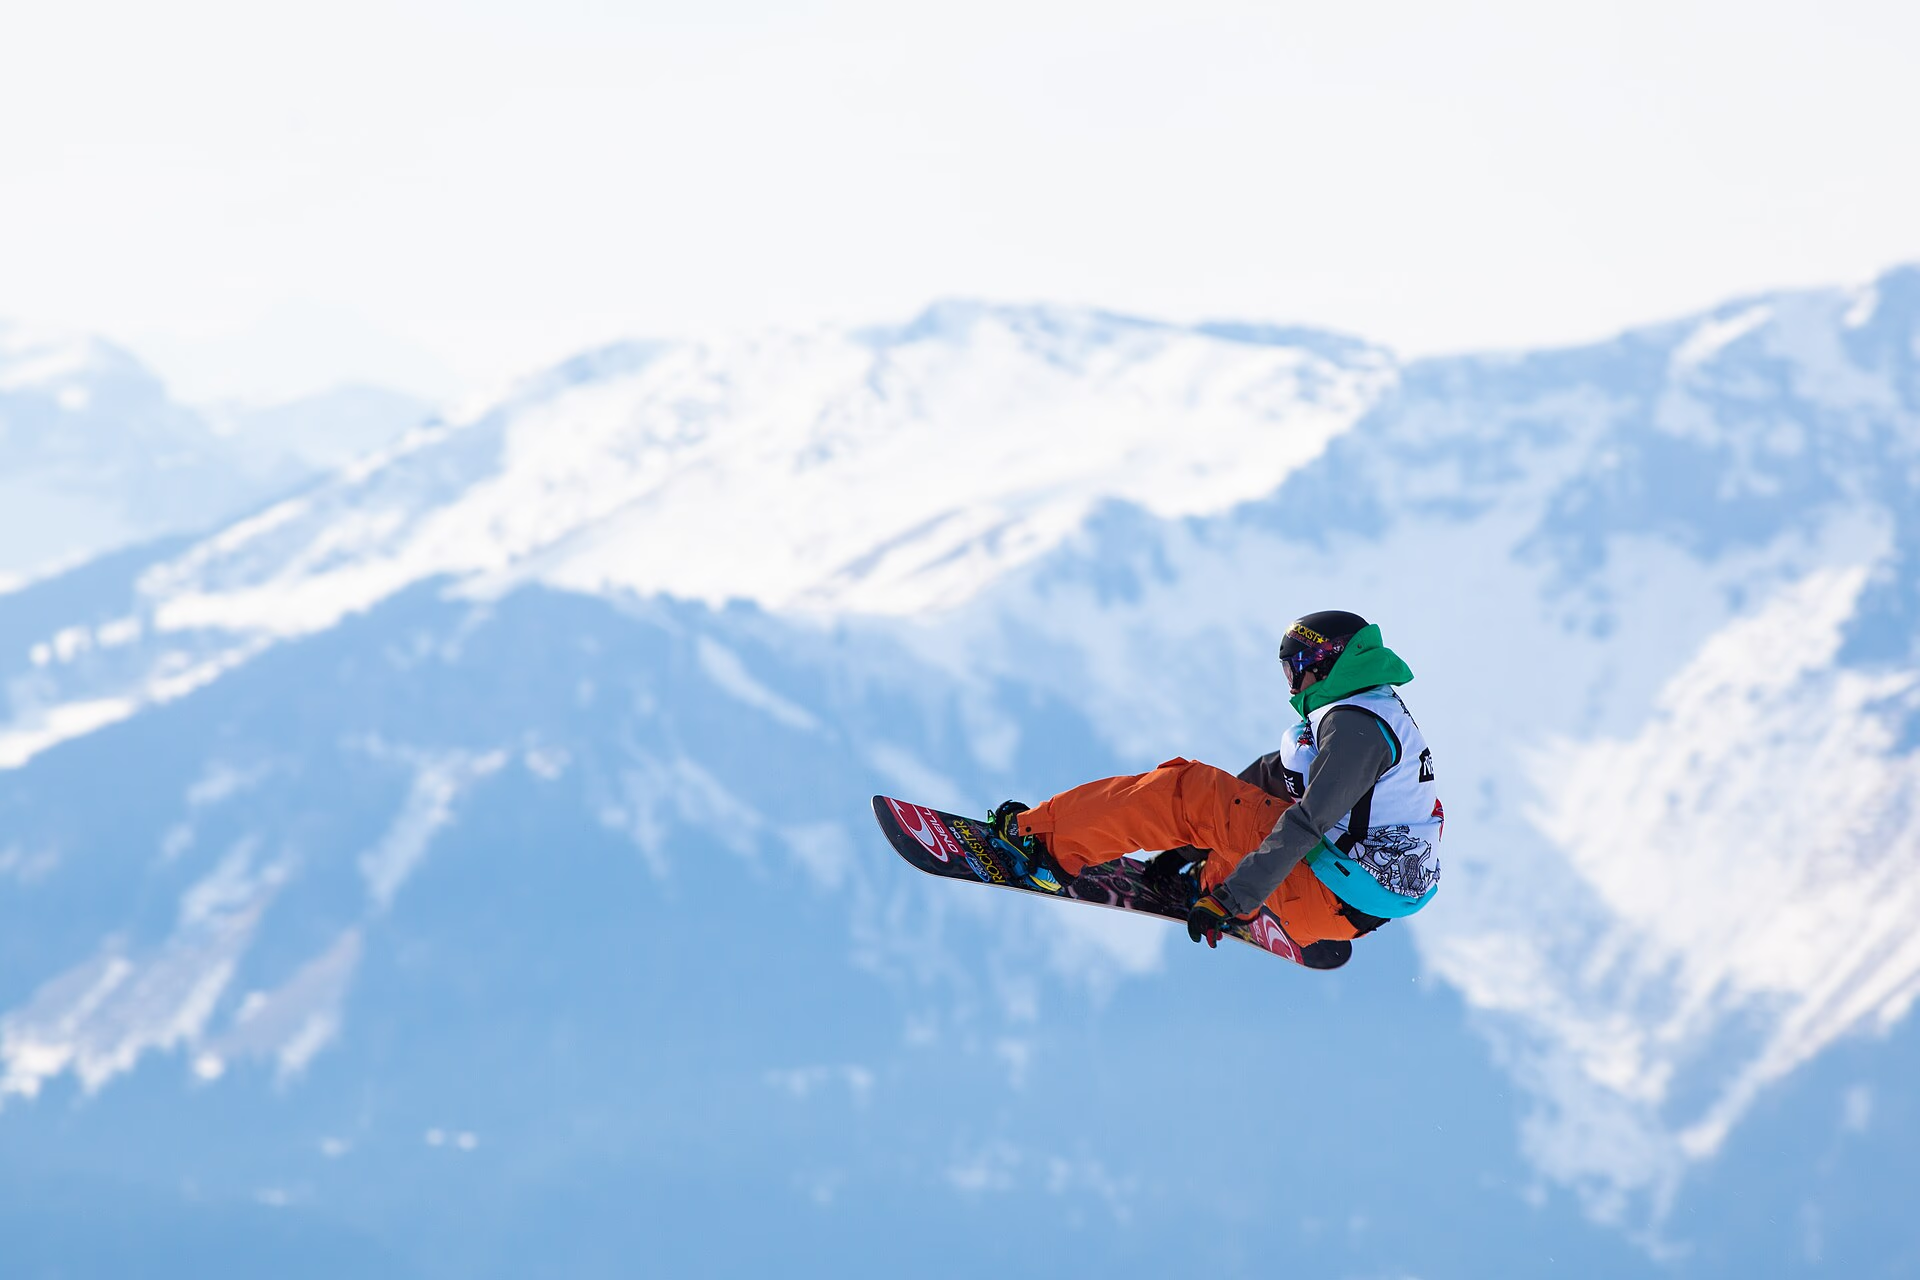
The rider reaches down with the front hand and grabs the toe edge between the bindings, then pulls the board up toward the body. The frame is the moment the board comes level with the shoulder and the body compresses into a compact shape. Stand slightly ahead of the lip and below it, shooting upward, so the rider separates cleanly from the sky or the snow behind. Shoot too late and you get the release, which looks like flailing rather than control.
2. The Straight-Air Tweak
No grab, no spin. The rider extends one leg and pushes the board out to the side at the top of the arc. It reads when the board is fully extended and the body forms a long line from the trailing boot to the shoulder. Stand side-on at takeoff height with the sun behind you or just off your shoulder. The mistake is a busy background: a tweak needs empty sky or a plain snow face behind it, or the extension disappears into noise.
3. The Laid-Out Carve Spraying Powder
A hard carved turn on firm snow, board fully on edge, body low and close to the surface, with a wall of snow leaving the tail. The photogenic instant is the peak of the spray, which is a fraction after the edge bites. Get down on the snow, ahead of the turn and slightly outside it, and let the rider come toward you. Ruined frames come from a shutter speed that is wrong in either direction, and from standing directly in the spray path.
4. The Rail Slide, Shot Wide and Close
The rider slides a box or a rail with the board perpendicular to the direction of travel. Because the movement is slow across a fixed object, this is the one snowboard shot where you can work close with a wide lens and keep the boots, the rail and the terrain park all in the frame. Stand at the far end of the rail, low, shooting along it. Ruined by cropping the rail's near edge out of the frame, which removes the entire point of the picture.
5. The Cornice Drop
The rider launches off a cornice or a wind lip and drops into a face below. Two frames matter here: the instant of departure, and the first turn after the landing. Place yourself below and to one side for the departure, where you can see the lip and the landing in the same frame. Ruined by shooting from above, which flattens a serious drop into a confusing smudge of snow.
6. The Run-In and Crouch Before Takeoff
The crouch is the compression before the pop, and it shows how much the rider is committing to the trick. Shoot it from the front and low, tight enough that the body fills roughly a third of the frame, with the lip visible ahead of them. Ruined by shooting it so wide that the crouch reads as nothing at all and the frame becomes a person standing on a hill.
7. The Powder Turn With the Face Just Visible
Deep snow, the body buried to the chest or waist, and only the helmet or the goggles breaking the surface with spray around the head. This is the shot for a long lens, taken from across the slope rather than from above. Ruined by too much distance, which swallows the face, or by a focus point left on the snow in front of the rider rather than on the goggles.
Exposure on Snow
Snow is brighter than the meter thinks it is. The camera wants to average a bright field of white toward mid-grey, so if you shoot what the meter suggests, the snow comes back dull and grey and the rider's jacket looks muddy. Add somewhere between one and one and a half stops over the indicated exposure and check the histogram rather than the screen, because a bright day will make any screen look overexposed.
Watch the highlights on the sunlit snow above all. Blown snow cannot be recovered, and a zone of pure white with no texture in a snowboard photograph looks like a mistake rather than a style. Shooting raw gives you the headroom to pull those areas back, and keeping the white balance honest matters more than usual: snow is the most neutral surface you will ever photograph, so any colour cast is obvious in a way it would not be on a portrait.
Shutter Speed, Burst Rate and Buffer
For freezing movement, 1/1000 of a second is a reasonable starting point and 1/2000 gives you margin on fast spins. Drop to about 1/250 to 1/500 if you want a little blur in the limbs, which can read as speed. Panning makes the opposite choice: a slower shutter, around 1/60, tracked with the rider's torso so the snow streaks and the racer stays sharp. Panning takes practice and half your frames will be soft, but the good ones are worth it on a carve or a straight run.
Frame rate and buffer limits matter more than frame rate. On a modern mirrorless body the buffer will fill before the burst rate becomes the problem, so use fast cards, shoot in bursts of a few frames, and let the card clear instead of holding the shutter through the whole run. Continuous autofocus for fast action handles most of this well, but in flat light and heavy snow it will hunt, and knowing when to switch to a pre-focused spot beats trusting tracking in conditions it cannot handle.
Lens Choice for Snowboarding
A wide lens gets you into the action. Seventeen to 24mm on full frame is workable for rail shots, powder turns close in, and anything where you want the slope itself filling the frame behind the rider. The advantage is proximity, and the disadvantage is that a wide lens only works if you are genuinely close, which puts you in the fall line, which is a safety question rather than a photographic one.
A telephoto does something a wide lens cannot. A 70-200mm compresses distance so the rider, the slope and the far mountains stack into one plane, which is what makes powder shots and cornice drops look steep and consequential. It also keeps you out of the way. A zoom beats a pair of primes in the mountains because you cannot step backwards off a slope to change framing, and because changing lenses in blowing snow is how you get a sensor full of water.
Level Horizons and Slope Safety
On steep terrain there is no horizon to level against, so use the fall line and the rider's body. A person descending a slope should look like they are descending, and a frame tilted the wrong way makes the rider look like they are going uphill. Check the edges of the frame for the snow surface line and use it as your reference.
Safety is part of the job. Do not stand in the landing zone, ever, no matter how good the angle looks from there. Do not stand below a lip where a rider cannot see you until they are airborne. Stay visible, tell people where you are going, and do not pressure a rider into a move they are not sure about, because a photographer's impatience is a poor reason for a hospital visit. Watch for other slope users between you and your subject, since a skier crossing the frame at the wrong moment ruins the shot, and a collision ruins much more than that.
Tips for Snowboard Photography
- Add a stop or more of exposure over the meter reading, and judge it on the histogram rather than the screen.
- Protect your gear from the inside out. Cold drains batteries fast, so carry two or three warm spares inside your jacket rather than in the bag.
- Pre-focus on the lip or the rail and stop the autofocus hunting in flat light.
- Shoot the run-in, not just the trick. The compression before takeoff often reads better than the airborne frame.
- Frame wide enough to keep the landing or the run-out visible, otherwise the action has no destination.
- Keep your own movements predictable near the slope. Riders plan their line around where you were standing the last time.
- Carrying a body on your pack strap keeps it accessible on a lift or a traverse, which is when most of the good light actually happens.
Conclusion
Snowboard photography is mostly logistics and light, with a small amount of luck on top. Learn what each trick looks like at the moment it reads, put yourself where the sun and the background cooperate, and get the exposure right on the snow before you worry about anything else. The gear matters far less than most forums suggest.
There is one more option worth trying if you keep missing the airborne frames: mounting a tiny camera on the board or on the helmet gives you a second angle you could never stand for, and on a grey day it may be the only angle that works at all. Use it as a supplement, not a replacement, because a rider's face is what makes a snowboarding photograph, and a chest-mounted camera never sees it.
FAQ
Why does the snow in my photos look grey?
The meter is averaging a bright scene toward mid-grey. Add one to one and a half stops over the metered exposure and check the histogram. Shooting raw gives you more room to correct it later.
What shutter speed freezes a snowboarder mid-trick?
About 1/1000 of a second is a safe starting point, and 1/2000 gives more margin on fast spins. Use 1/250 to 1/500 when you want some blur in the limbs, and around 1/60 for panning.
Wide lens or telephoto for snowboarding?
Both, for different shots. Wide gets you close for rails and powder turns and keeps the slope in the frame. A 70-200mm compresses distance to make airtime and cornice drops look steep, and keeps you out of the rider's way.
How do I deal with batteries in the cold?
Carry spare batteries inside a jacket pocket so they stay warm, and swap them before they die rather than after. A battery that reports half charge in the cold can drop to nothing within a few frames.
Is it safe to shoot from below a jump?
No. Never stand in the landing zone or directly below a lip where a rider cannot see you before takeoff. Shoot from the side and off the run-out, and make sure other slope users can see you.
Can I shoot snowboarding with a phone?
For static shots and lift rides, yes, and a phone handles snow exposure reasonably well. For airtime and fast carving it will struggle with shutter lag and autofocus, and you will miss the two frames that mattered.