The first time I photographed parkour I came home with four hundred frames of empty concrete and one usable silhouette. The traceur had done everything right. I had spent the whole session standing in the wrong place.
Parkour is not a modelling job, and nobody holds a shape while you fiddle with focus. A precision jump reads for about two frames. A wall run reads at the instant the foot plants. If you shoot single frames on a slow card and hope, you will come back with a lot of pictures of an athlete's back. Learning the moves properly is the part most photographers skip, and it is the part that makes the difference.
Here are eight moves worth shooting, what each one looks like at its best instant, where you need to stand, and the mistake that ruins it. After that come the settings, scouting, working with a traceur through fifty attempts, and the legal and ethical side, which in this genre is not a footnote.
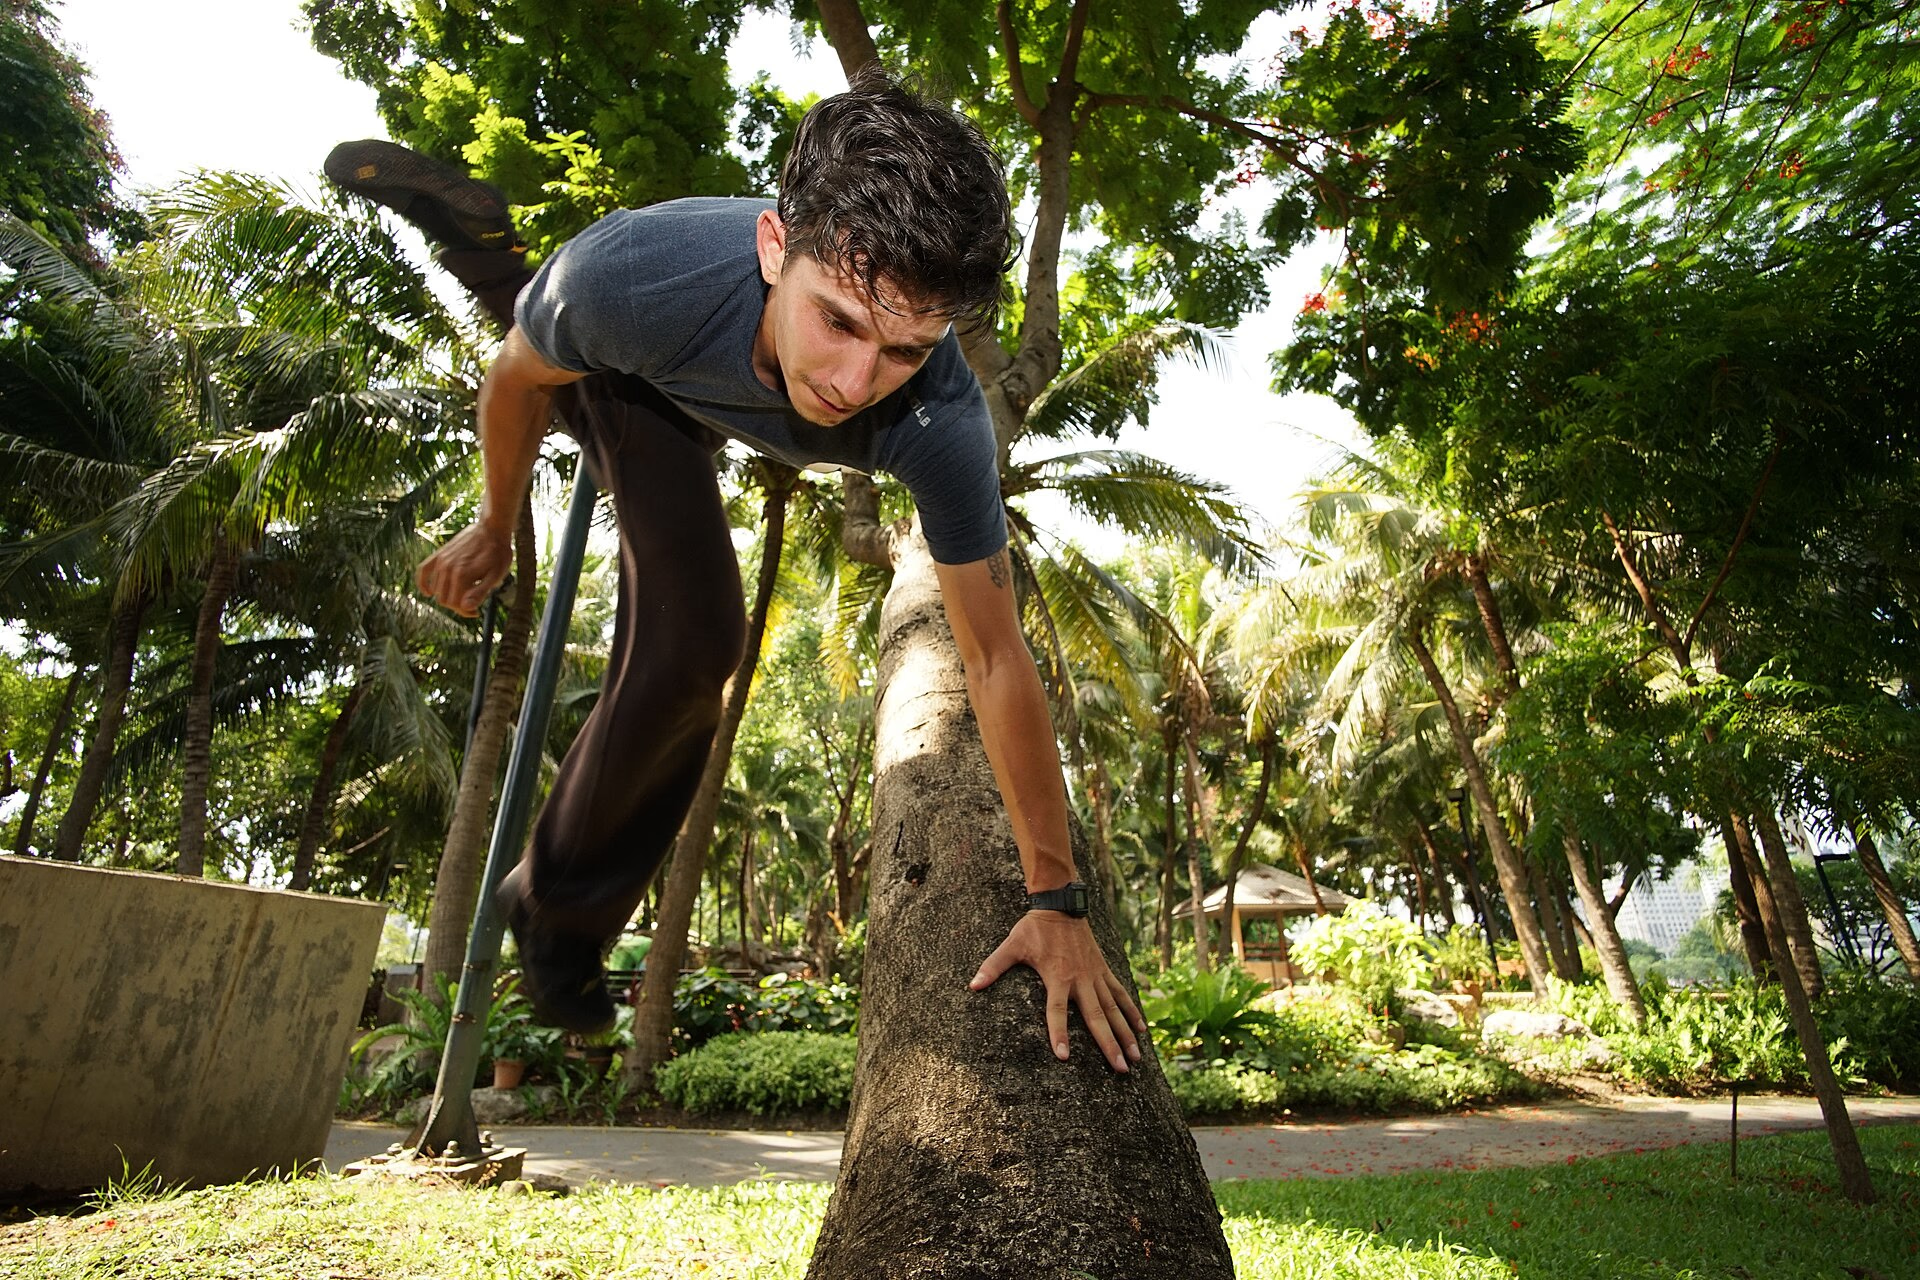
The Eight Moves Worth Shooting
1. The Precision Jump
Two rails, a gap, and a standing jump between them. The photogenic moment is not the takeoff, it is the landing: knees folded deep, one hand touching down, weight settling, face up. Stand perpendicular to the gap and low, so the gap reads as distance rather than as a step. Frames die when the shooter stands behind the traceur, which flattens the jump into nothing, or stands so close that the near rail blocks the legs.
2. The Speed Vault
The traceur approaches a waist-high rail, plants one hand and swings both legs over to the side. The frame you want is when the legs are at the highest point of the swing and the supporting arm is straight, because the body makes a clean diagonal. Get level with the rail and about three metres back, shooting down the line of travel. What usually ruins it is a shutter that is too slow, which smears the trailing leg, or a background so busy that the diagonal disappears.
3. The Wall Run
A wall run is two or three steps up a vertical surface before the traceur pushes off to reach something higher. It only reads when the wall is shot at a shallow angle, so the camera sees the body against the surface rather than in front of it. Stand to the side of the run direction and slightly ahead of the traceur, then let them move through the frame. The common failure is shooting the wall flat on, which turns a vertical run into a person standing oddly in mid-air.
4. The Cat Leap onto a Ledge
The traceur jumps toward a wall, catches the top edge with both hands and hangs or pulls up. The best instant is usually just after the hands make contact, with the feet still braced on the wall below and the arms loaded. Get below and to one side, looking up, and let the wall fill part of the frame. Ruined frames come from shooting at eye level, which hides the contact point, and from a wide lens pushed too close, which bends the ledge into a curve.
5. The Mid-Air Stride at the Apex
This is the shot that sells parkour: the traceur at the top of a gap jump, both legs split in a running stride, arms counterbalanced, nothing touching anything. Timing matters here more than anywhere else, so anticipate and shoot just before the apex rather than at it. Stand side-on with the sun behind you and the far landing inside the frame, because a stride with no destination looks like a fall. The mistake is cropping the landing out, which removes the story.
6. The Rail Balance
A traceur walks or pauses along a narrow rail, often with a long drop on one side. Nothing about the body is dramatic, which is exactly why it works: it is a photo about nerve. Shoot along the rail from a low angle so the rail becomes a line running into the distance, and leave space in front of the subject. Frames fail when the shooter stands at the far end of the rail and blocks the vanishing point, or when the horizon is tilted, which makes the viewer uneasy for the wrong reason.
7. The Landing Roll
After a drop or a long jump, the traceur absorbs the impact by rolling across one shoulder and back onto their feet. The frame is the moment the shoulder touches the ground, before the legs come around. Get down on the ground with them, at their level, and shoot from about a metre away with something wide. What wastes it is an autofocus that has locked onto the wall behind, so the face and shoulder come out soft.
8. The Underbar
An underbar is a slide or swing underneath a rail or gap, body nearly horizontal, one hand trailing on the bar. It is the most awkward move to shoot because the traceur is travelling through a small space. Place the camera low and slightly past the bar, so the body passes through the frame, and let the bar cut across the top as a foreground line. Ruined frames come from standing where the bar covers the face, which happens more often than anyone expects.
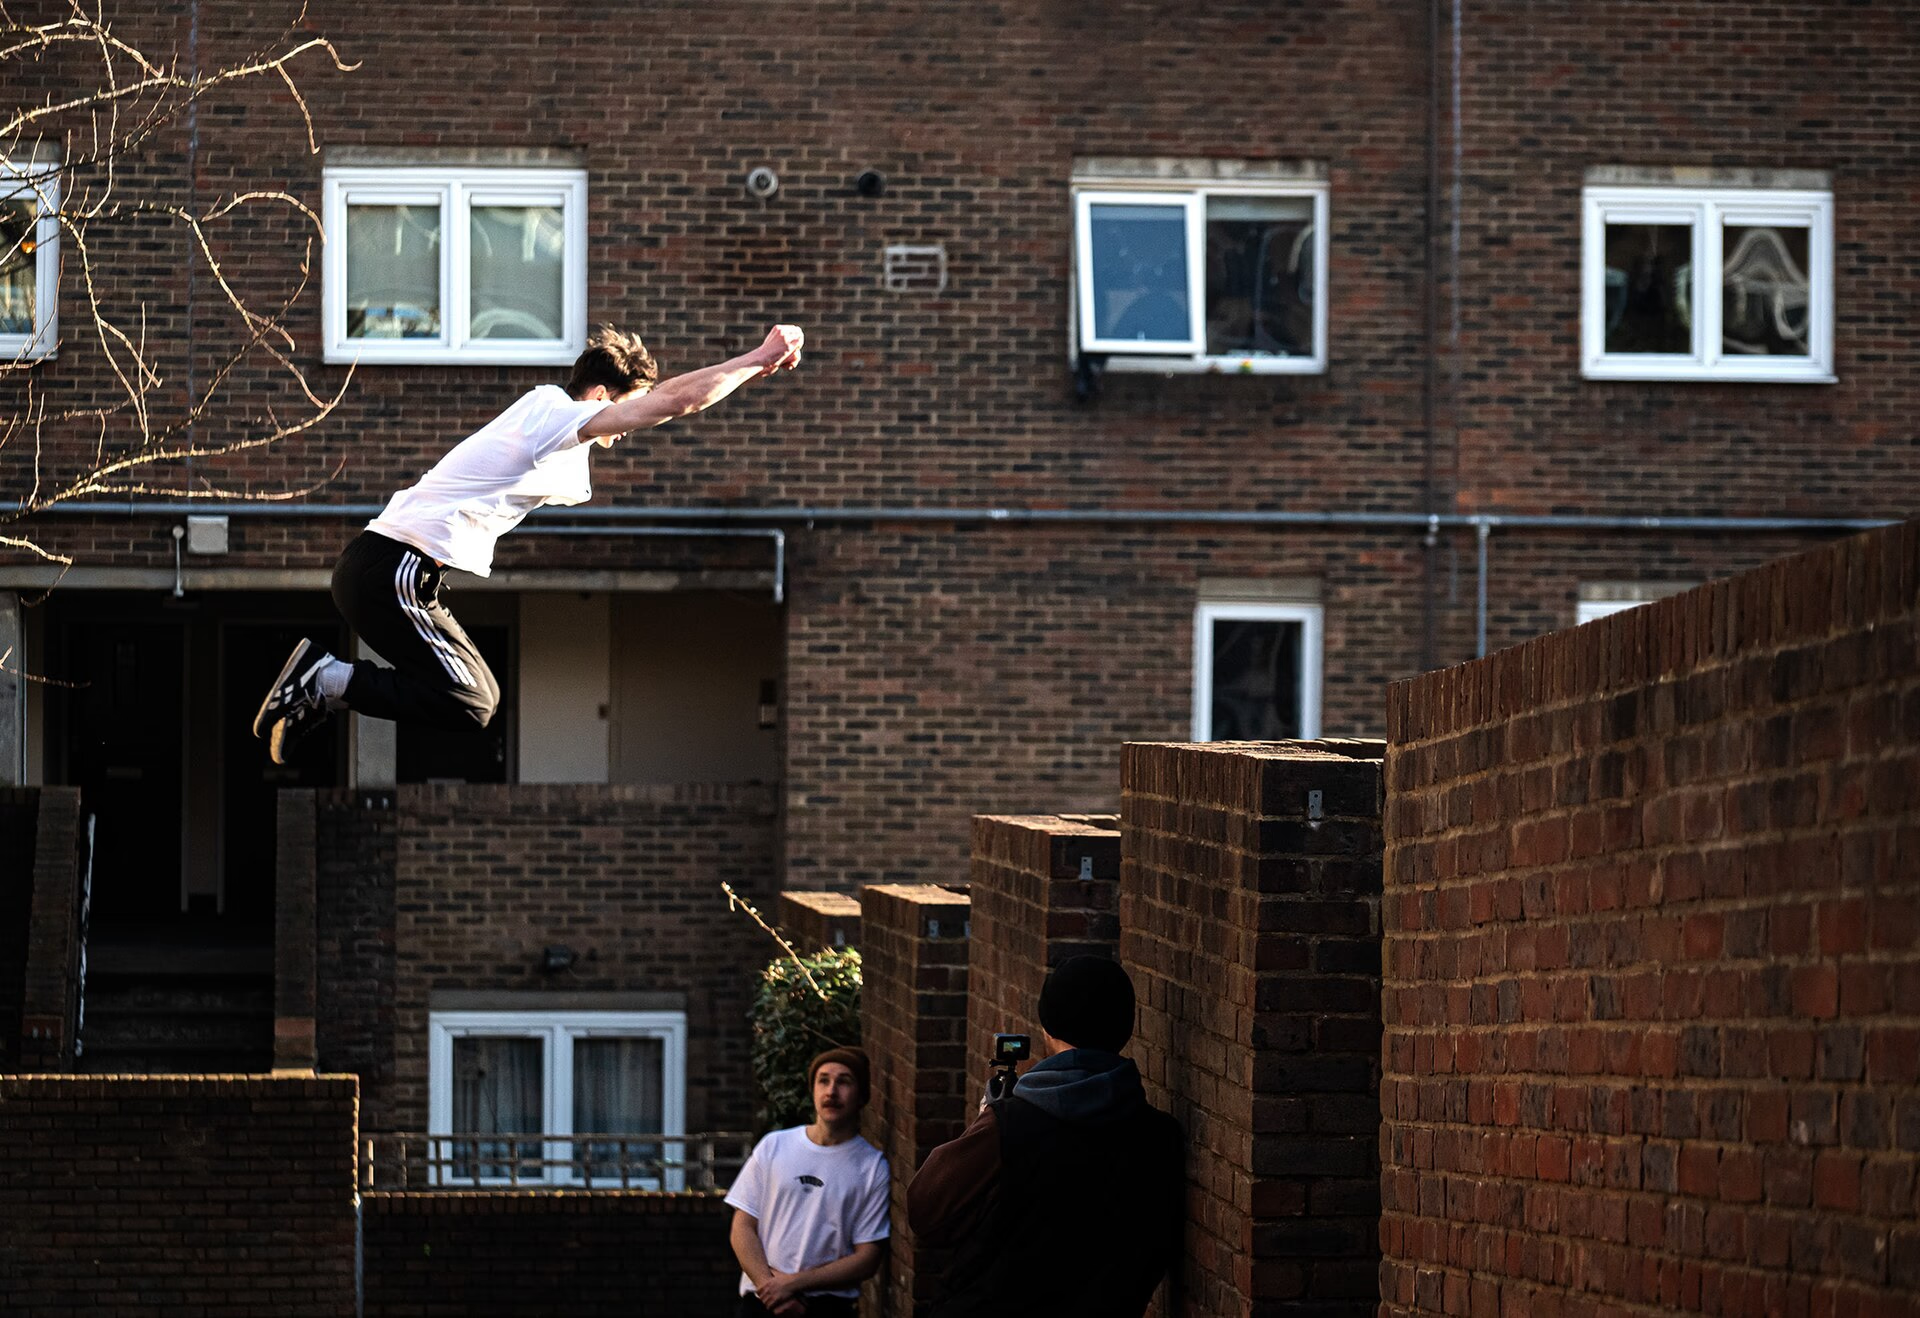
Setting Up Your Camera for Parkour
Burst shooting is not optional. Any modern mirrorless body will give you enough frames per second to catch the two or three that matter, and the limit you hit first is usually the buffer rather than the frame rate, so use fast cards and fire in short bursts instead of holding the shutter down for an entire attempt. Continuous autofocus with subject tracking does most of the heavy lifting, and something like the subject-tracking autofocus in a mid-range body is genuinely enough for parkour, though it will still lose a traceur in a dark hood against a dark wall.
Focal length depends on how much city you want in the frame. A wide-to-normal lens, somewhere between 24mm and 50mm full-frame equivalent, keeps the wall, the street and the skyline in the picture, which is what separates parkour photography from a studio jump shot. Go wider than that and the traceur becomes small and the perspective goes strange. Keep the horizon level. On stairs and slopes this takes deliberate effort, and a tilted frame makes a physically impressive move look like a mistake.
A tiny 4K action camera mounted on a rail or a helmet gives you the second angle if you can trigger it remotely, and it is worth having for the one move where the main camera ended up in the wrong place. Whatever body you carry, set up back-button focus if the camera offers it. It stops the autofocus from hunting every time you half-press between attempts.
Scouting Urban Locations Without Getting Moved On
Scout in daylight, on foot, and shoot somewhere else. That sounds flippant, but most of the trouble I have seen came from crews who arrived at a location for the first time with a camera bag, a model and a lighting plan. Walk the spot a day earlier, look at where the light falls, check whether the wall you liked is actually private property, and note where you can stand without blocking a pavement or a doorway.
Public space is not one thing. A plaza, a stairwell and a shopping centre have completely different rules, and a security guard's tolerance is not a legal boundary. Where a location is private, get permission in writing from whoever actually controls it, which is rarely the person at the front desk. If someone asks you to move on, move on, and remember that arguing costs you a location for everyone who comes after you.
Working With a Traceur Through Repeated Attempts
Budget for a lot of attempts and a lot of rest. Parkour is physically punishing, and a tired traceur moves differently: landings get heavier, lines get sloppy, and the photos get worse. Twenty minutes of shooting and ten minutes of sitting down beats an hour of grinding out jumps until the athlete is too tired to hit the same shape twice.
Give clear direction rather than vague encouragement. "Push off half a step later and look at the landing rather than the rail" is useful. "Do it again but better" is not. Show them the back of the camera when it matters, because the traceur can see whether their body shape is working in a way you cannot, and they will usually fix it themselves. Rehearse without the camera running as well. A couple of practice runs lets you pick your spot, and it lets them find the line without being watched.
The Ethics of Shooting in Someone Else's City
You are working in a space other people live in. Framing someone's front window because the light is nice is not the same as using it as a backdrop, and the two look identical in the finished photograph. Tell the people around you what you are doing, particularly if you are setting up near where children are playing, and be ready to move on if anyone is uncomfortable.
Do not encourage a move you think is unsafe, and do not ask for a retry on a wet surface or a crowded landing. If the shoot requires closing off a spot to passing pedestrians, that is a conversation with the local authority, not a decision you make by standing in the way. The photographs age better when nobody was hurt and nobody was shouted at.
Tips for Parkour Photography
- Learn the move before you shoot it. Knowing where the apex is beats any autofocus mode on the market.
- Fire in bursts of three to five frames rather than holding the shutter down, and you will fill the buffer less often.
- Stand where the gap or the drop is visible. A jump with no visible distance is just a person in the air.
- Keep the sun behind your shoulder or well off to the side. Backlighting a traceur against a bright wall leaves you with a silhouette and no face.
- Get low. Half of these moves read better from ground level, and the roll and the cat leap need it.
- Bring a second angle for the best attempt, because you only get one take of a move the traceur will not repeat.
- Watch your own footing. Photographers fall off ledges more often than traceurs do.
Conclusion
Parkour photography rewards preparation more than gear. The moves have specific instants where they read, and those instants stay almost the same whether you shoot on a flagship body or an entry-level one. What changes is your position, your timing, and how well you know the athlete's line.
There is a real ceiling on what one location gives you, too. Shooting the same plaza every weekend will make your portfolio look identical, so rotate locations and let the architecture do part of the work. Carrying a camera you can get to quickly matters more in this genre than carrying the best one you own, which is why a clip that keeps the camera on your hip is more useful than a bag you have to open between attempts. If the shoot depends on moving with the traceur, cut what you carry until you can.
FAQ
What shutter speed do I need for parkour?
Between 1/500 and 1/1000 of a second will freeze most moves. Use about 1/250 when you want a little motion in the trailing limb, and remember that a faster shutter forces a wider aperture or a higher ISO, which costs you either depth of field or noise.
Is a wide lens or a telephoto better for parkour?
Wide-to-normal, generally 24mm to 50mm equivalent. Parkour happens against architecture, and a telephoto flattens that context away. A telephoto is useful when you physically cannot get close, such as at a competition where the crowd controls where you stand.
How do I stop the autofocus losing the traceur?
Use continuous focus with subject or eye tracking, and give the camera a clean subject against a contrasting background where you can. A dark-hooded athlete against a dark wall is the classic failure. When it keeps happening, switch to zone focus on the landing spot and forget tracking.
Do I need permission to shoot parkour in a city?
Rules vary by location, and public space is not automatically free to shoot in. Shoot in genuinely public areas, ask before using private property, and leave when asked. Get written permission for anything commercial.
How many attempts should I ask for?
Fewer than you think. Three or four good attempts with rest between them give you more usable frames than fifteen rushed ones, and a tired traceur stops moving well and starts getting injured.
Can I shoot parkour on a phone or an action camera?
Yes, and both have advantages. A phone is quiet, always ready, and nobody tenses up for it. A small action camera can be mounted where you cannot stand. Neither will match a dedicated body with fast continuous autofocus for the airborne frames.