The email usually arrives late at night. A woman in her thirties or forties says she has wanted to book a boudoir session for years, then lists the reasons she has not: her arms, her stomach, the fact that she does not look like any of the women in the galleries she has been scrolling through for a month. That last part is the real problem, and it is not her fault.
Most boudoir teaching is built around thinner bodies. The lighting diagrams assume a torso can be tucked behind a shoulder. The posing sheets assume long limbs and an obvious waist. Hand a plus-size client the same setup and the same directions and the photographs come out worse than they should, not because of her body but because the technique was never designed for it.
What changed in my own work was mostly light, distance and direction. Almost none of it involves hiding anything, which is worth saying plainly, because clients can tell when a pose exists to conceal something and it shows in the face.
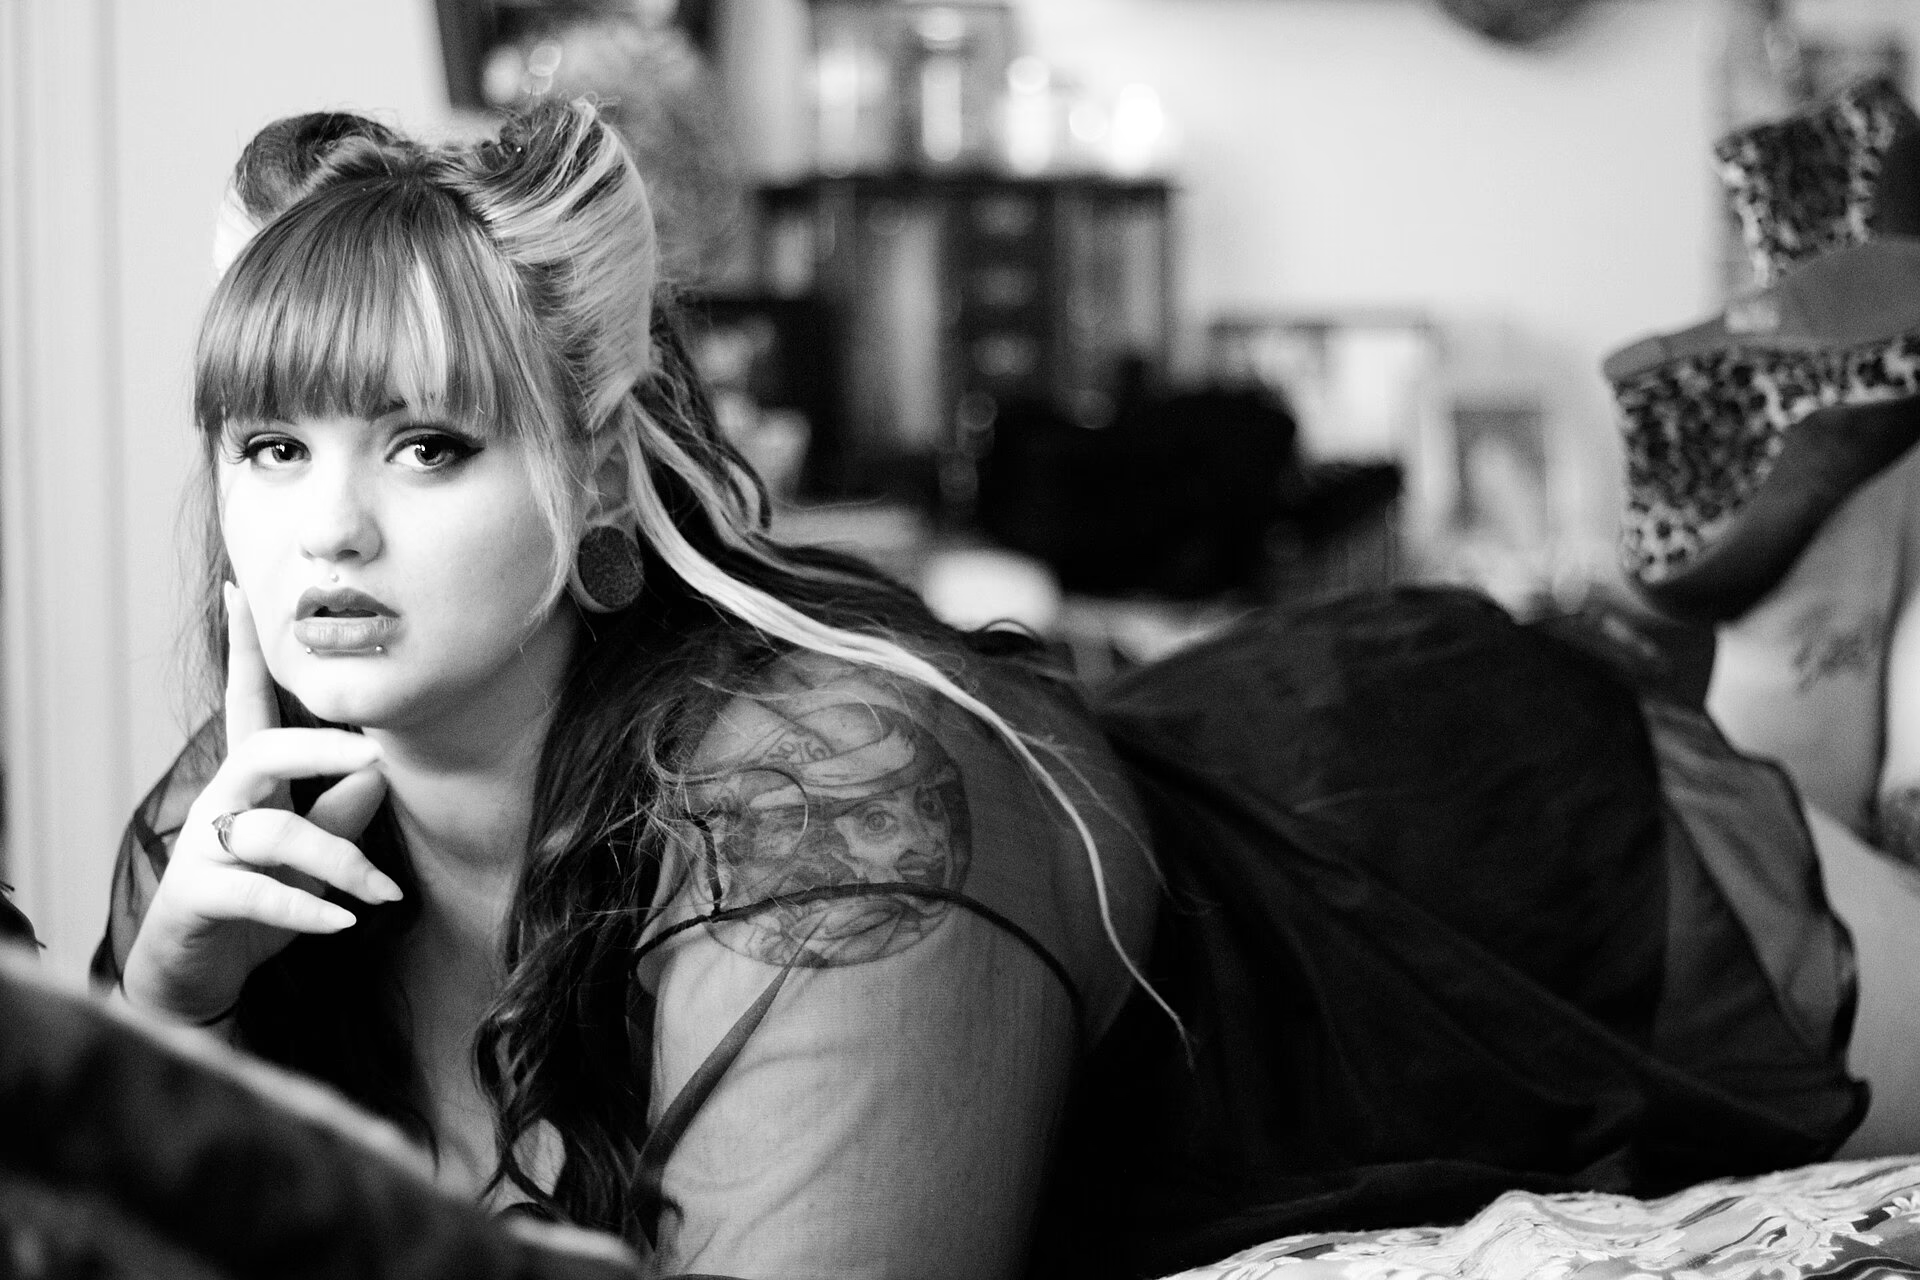
Start With Light, Not With Angles
Flat frontal light is the enemy. One head fired straight down the lens axis wraps evenly around a body and leaves nothing for the eye to read: no shadow, no shape, just an outline with a face inside it. On a slim frame that can pass as clean and minimal. On a fuller figure it flattens the whole width of the body into one plane, and no pose fixes it afterwards.
Short lighting handles most of that. Put the light roughly 45 degrees off the lens axis and turn the client so the side of her face nearest the camera falls into shadow. The lit side is the side away from the lens. That shadow edge gives a fuller face and torso shape, and it narrows the silhouette while it does the work. Broad lighting, where the near side takes the light, widens both. It has its uses on very angular, slender faces. As a default for this work, leave it alone.
Two details matter as much as the angle. Use the largest modifier that fits in the room and bring it in close, because a big source at a short distance wraps around a body instead of hitting it flat. Then add negative fill on the shadow side, whether that is a black panel, a black flag or a folded duvet cover. Taking light away adds shape that another stop of exposure never will. If you are moving the light between setups, lock the camera down on a stable tripod for studio work so that the only variable between frames is the thing you changed on purpose.
Distance Beats Focal Length
Perspective distortion comes from camera distance, not from the lens. Anything photographed from closer than roughly two metres exaggerates whatever sits nearest the glass, which is why a phone held half a metre away produces the nose-first look nobody wants. With a fuller figure the same effect reaches the arms, the hips and the shoulders, and it is the most common reason a client tells me she photographs badly.
Back up before you consider anything else. If the room is small, the 35mm f/1.8 on an APS-C body is a decent compromise: a fast prime that behaves like a normal prime, wide enough to hold a reclining figure from the far wall and long enough that you are not standing in her lap. On a full-frame body, an 85mm at three metres is the comfortable place to work if you have the floor space for it, with a 50mm at two metres as the fallback.
The honest downside is that most bedrooms are too small for a proper working distance, and no lens choice manufactures floor space you do not have. When you are cornered, raise the camera slightly above eye level, angle the client's body across the frame instead of letting it lie flat toward you, and accept a tighter crop. A slightly tight frame taken from a sensible height beats a wide frame shot from a metre away.
Wardrobe: Structure, Seams and Straps
Structure does more for a plus-size client than lace does. A well-made bodysuit, a high-waist brief with a wide band, a corset-style piece or a weighted silk slip holds a line and skims the body instead of gripping it. Soft, unstructured lace follows every edge beneath it and shows straps, waistbands and the outline of anything worn under it.
The rule I give every client is short: nothing should dig in. A waistband that cuts, an underwire that leaves a red mark, a garter that pinches the thigh or a stocking top that bites will all appear in the frame and take twenty minutes to fade off the skin. Size up on stockings. Skip lingerie bought the day before. Ask her to bring a fitted t-shirt, an oversized white shirt, a robe and one pair of matte stockings, then start in whichever outfit she feels least exposed in and work toward the rest as she settles.
Colour is worth a word. Deep, saturated tones hold up against skin better than pale greys and washed-out pastels, which tend to go muddy in shadow. Black is easy and safe. Deep red, navy, forest green and chocolate all photograph richly, and a client does not need to own any of them beforehand. Ask her to bring options and she will.
Direction Matters More Than the Pose
I have watched photographers hand a client a list of poses and then talk to their camera instead of to her. That is where sessions go wrong. Being directed well matters more than the pose itself, and a client who is being looked after will move into shapes she would never have found alone.
Give her jobs, not adjectives. "Be sexy" produces a stiff smile and a hunched shoulder. "Put your left hand on the back of your neck, breathe out, and drop your shoulders" produces a photograph. Keep the instructions coming in small pieces, one adjustment at a time, and say what is working rather than what is wrong. Count down before the shutter so she knows when to hold, and let her move between frames instead of freezing for a full minute.
Show her the back of the camera for the first few frames so she can see that she looks good, then stop. A client who starts performing for the screen stops listening to you. If she mentions her arms, resist the urge to hide them behind her hip, and fix the two things that usually caused the complaint in the first place: the height of the camera and the distance from it.
Poses That Lengthen the Body and Create Shape
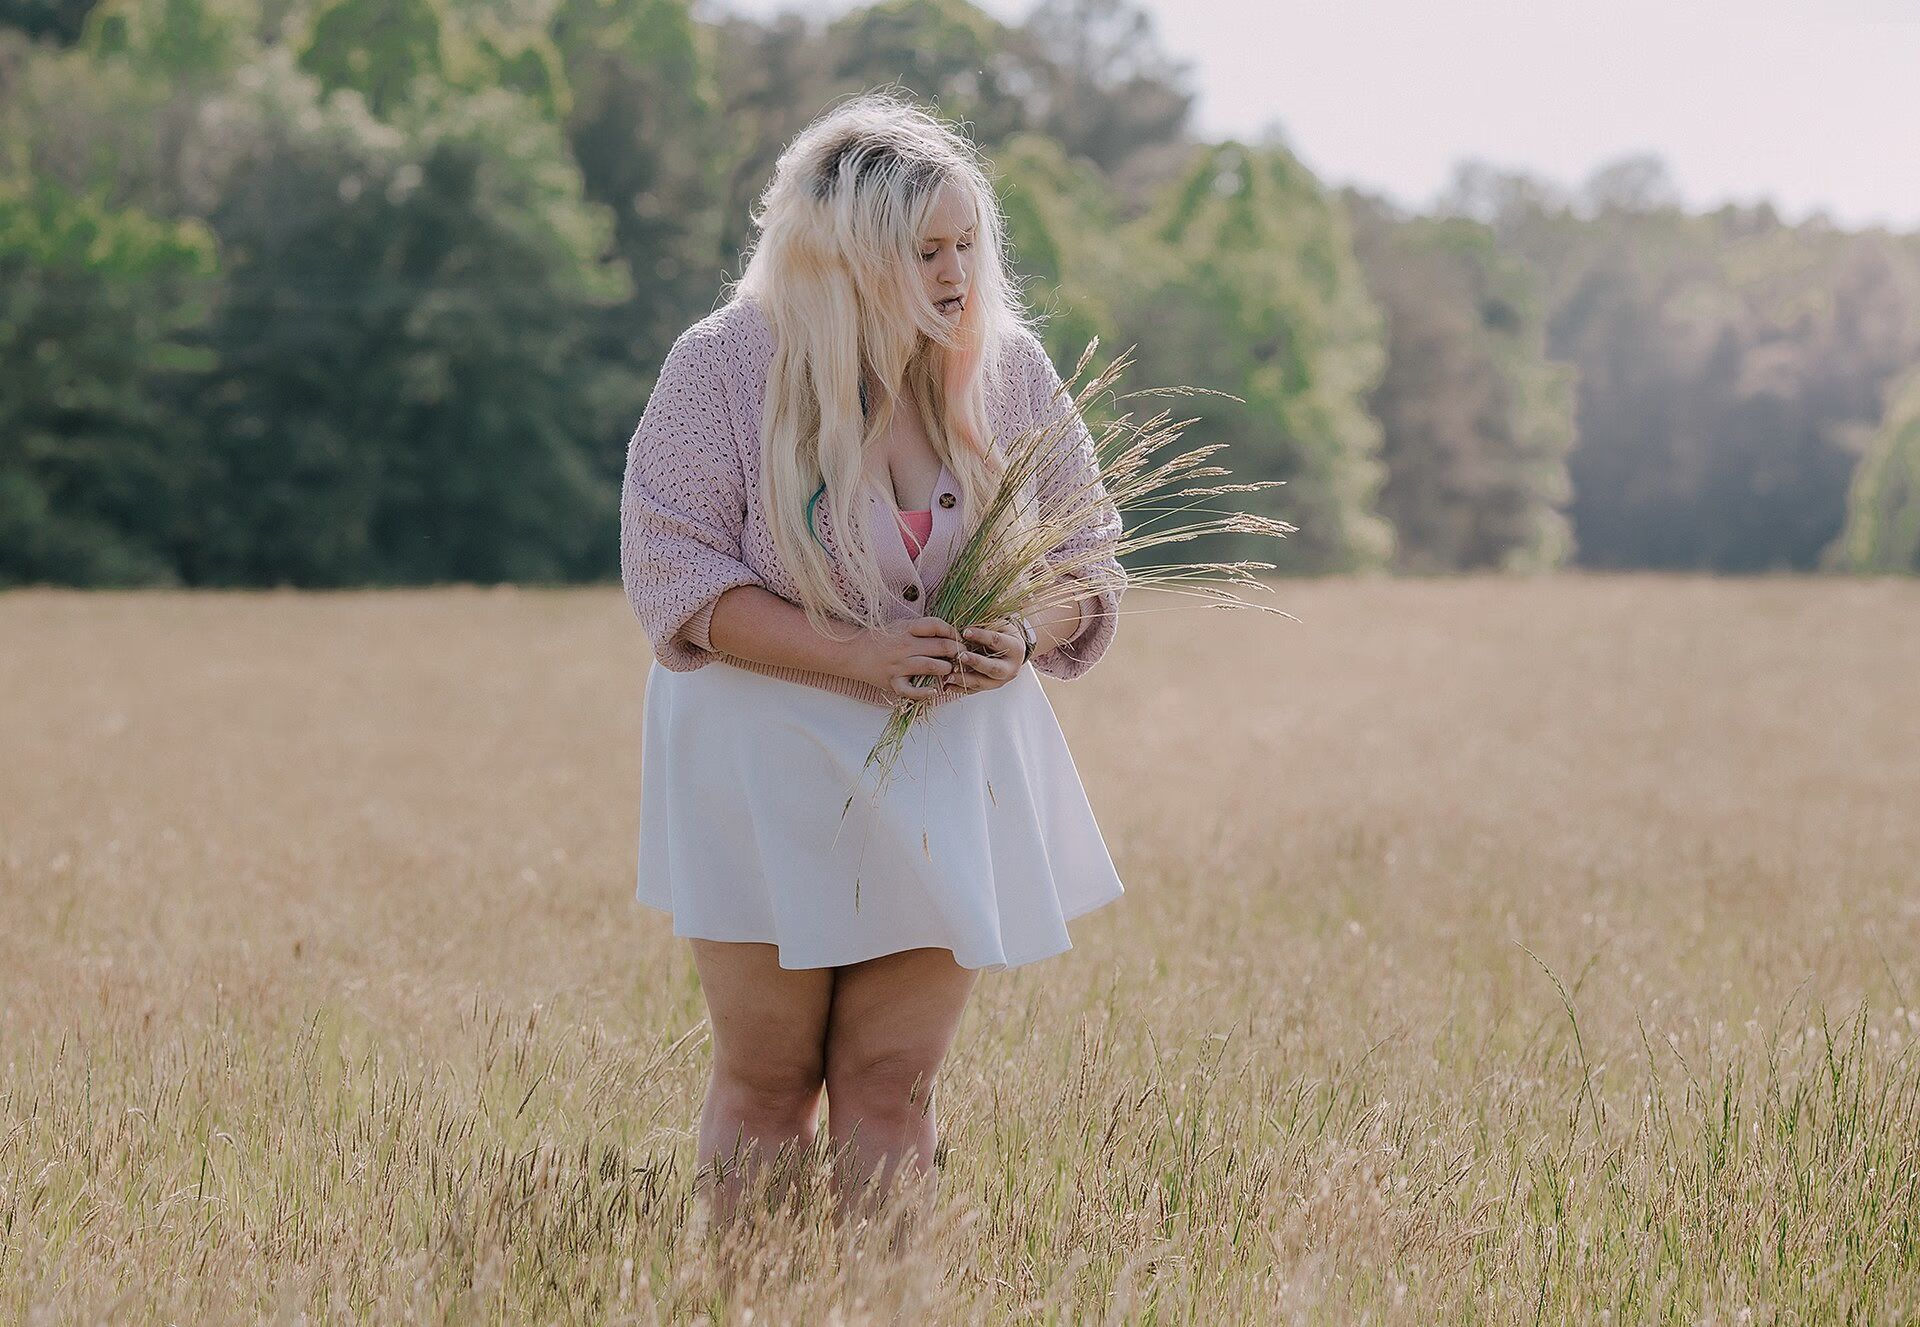
Improvising poses on the day costs you the session. Keep four or five shapes you know work and adjust them on the spot.
A three-quarter turn is the workhorse. Rotate her hips about 45 degrees away from the lens while leaving the shoulders closer to square, so the near shoulder sits forward of the hip. The twist narrows the body and gives the camera a diagonal to follow instead of a flat wall of fabric.
Reclining on one hip with the bottom arm extended along the mattress and the top arm bent, fingers near the collarbone, sets up two long diagonals across the frame. Photograph it from slightly above so those lines run corner to corner rather than stacking vertically on top of each other.
Seated on the edge of the bed, leaning back on one arm with the near leg extended and the far knee bent, gives you one unbroken line from hip to ankle. Angle the foot so it is not flat to the lens. Kneeling with the torso twisted back toward the camera suits a client who wants her back photographed, and a hand resting on the back of the thigh keeps the near arm off the ribs.
Small adjustments do a lot. An arched line, chest lifted and weight on one hip, reads as confidence rather than effort. Hands, elbows and knees held slightly off the outline of the body create separation, and anything pressed flat against the torso widens it. If a pose takes breath-holding to hold, throw it out and find another one.
Frames to Avoid
Shooting down from above is the most common mistake I see, and it is usually well intentioned. A photographer stands on the bed to get a "high angle" and buries the chin in the chest while stacking the hips under the shoulders. A camera slightly above eye level is fine. A camera two metres above her is a different photograph, and rarely a better one.
Square to the lens is the second. Feet together, hips and shoulders parallel to the sensor, arms straight down. It reads as a passport photo and it is the widest possible version of anybody. Turn her, always, even by fifteen degrees.
Tight crops at the widest points fail quietly. Cut the frame just below the widest part of an arm or a thigh and the edge implies something the viewer never actually sees. Either include the whole shape or crop well past it so the cut reads as deliberate. The same applies to joints, so avoid slicing through an elbow, a wrist, a knee or an ankle.
The trick where the near arm tucks behind the back, or disappears behind a hip, is legible to clients as hiding and it makes them tense. Photograph the arm. A hand in the hair, a hand on the sheet or a hand holding a strap in place will always read better than an arm that has been removed from the picture.
Editing Without Reshaping Bodies
Clients notice over-smoothing and reshaping, and they do not like either one. They know what they look like. A waist pulled in by a quarter is not flattering in their eyes, it is a lie, and it is the fastest way to lose the trust you spent the session building. If she shows the photographs to a partner, the gap between the image and the body in the room becomes your problem.
Set expectations before the shoot. Ask what she wants retouched, get it in writing, then keep to it. Blemishes, stray hairs, temporary strap marks and the shadow under the eyes are fair game, and clients appreciate the cleanup. Body reshaping is not, unless the client has specifically asked for it, and most do not once they have seen honest frames.
The editing itself should be boring. Correct exposure, correct white balance, lift the shadows, dodge a little light into the eyes, keep the skin looking like skin. A Lightroom workflow that you run the same way on every frame matters more than any single image, because a set that matches reads as a body of work and a set that does not reads as a folder of experiments. If you find yourself reaching for the smoothing slider because the light was flat on the day, fix the light next time rather than the file.
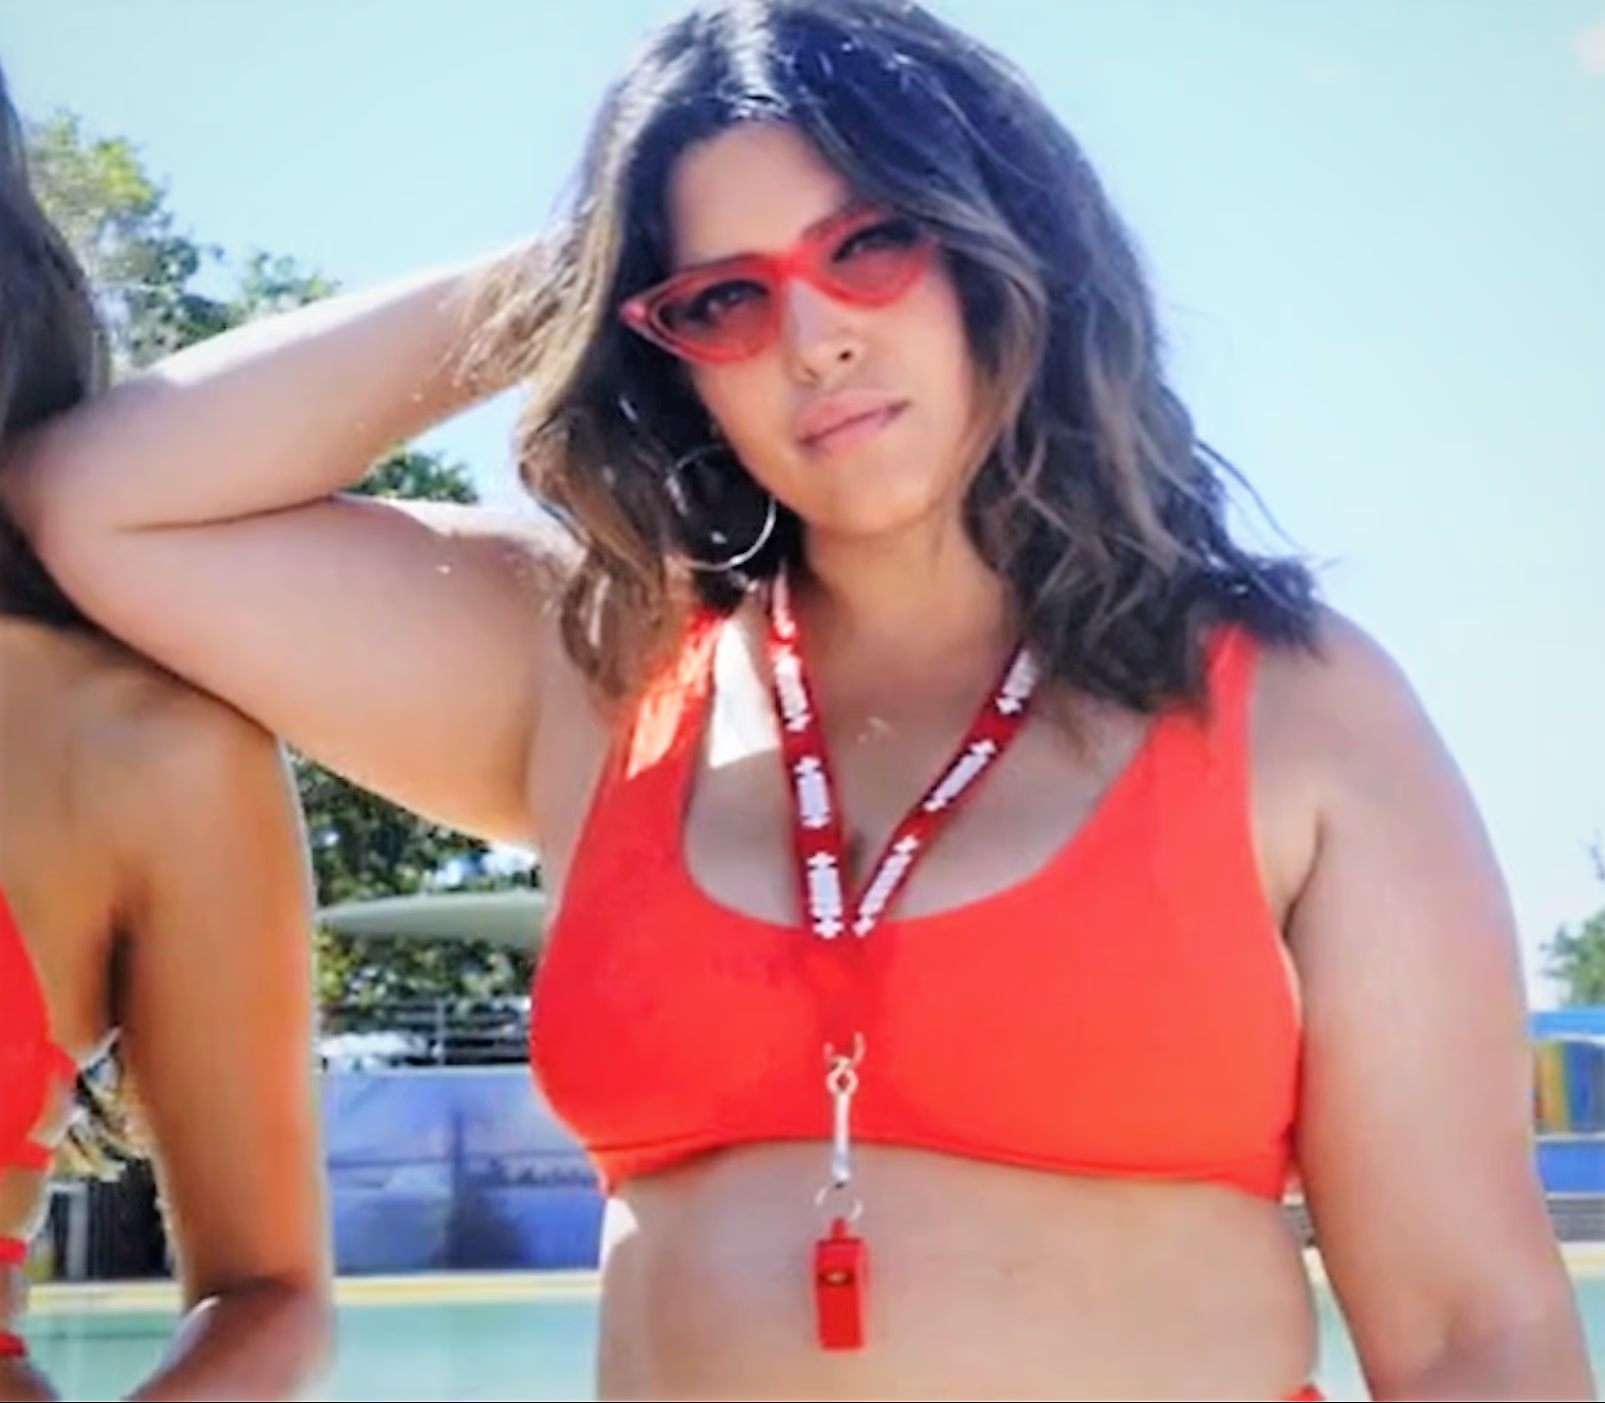
Tips for a Plus Size Boudoir Session
- Test the light on the client, not on an empty bed. Skin reflects differently from a duvet.
- Keep the camera slightly above eye level, and never photograph straight down at a client who is lying flat.
- Choose the lens by the size of the room, not by the size of the client.
- Bring a robe and an oversized shirt so there is always a covered option for the warmer frames.
- Voice one adjustment every few seconds, even if it is only "chin down, hold that".
- Shoot wider than you need and crop later. A frame that is too tight cannot be rescued.
- Raise the retouching question before the session rather than after she has seen the images.
Conclusion
None of this is exotic technique. Short lighting, a longer working distance, a wardrobe rule about nothing digging in, and constant specific direction will improve a plus-size session more than a new lens will. The list of things to avoid is short, and it is mostly made up of habits that photographers picked up shooting thinner clients in smaller rooms.
The mistake I made for years was treating a fuller figure as a problem to be solved with angles. It is not. It is a different set of proportions, and the same lighting principles that make a portrait look three-dimensional work on it without modification. What does need modifying is the assumption that hiding things helps, because clients can see the effort and it undermines the confidence the session is supposed to build.
Test light before you test poses, back up until the proportions look right, and direct with small physical instructions rather than encouragement. Then edit lightly and let her have the photographs she paid for.
FAQ
How do I light a plus size boudoir session with one light?
Place a single large modifier about 45 degrees off the lens axis, slightly above eye level, and turn the client so the side of her face nearest the camera goes into shadow. Add a black panel or duvet on the shadow side to deepen the contrast. One well-placed source with negative fill beats two lights that flatten everything out.
What lens should I use in a small bedroom?
A 35mm on an APS-C body or a 50mm on full frame is the practical answer, since most bedrooms do not allow a proper 85mm working distance. Set the camera slightly above eye level, angle the body across the frame rather than flat toward the lens, and crop in later. Standing closer with a wide lens is what makes the proportions look wrong.
What should a plus size client bring to wear?
Ask for structure: a bodysuit, a high-waist brief with a wide band, a corset-style piece, a weighted slip or a well-cut bra and brief set, plus a fitted t-shirt, an oversized shirt, a robe and matte stockings sized up to avoid a band that cuts. Nothing should leave a mark on the skin. Three or four options is plenty for a two-hour session.
How much retouching is appropriate for this kind of work?
Blemishes, stray hairs, temporary strap marks and under-eye shadows are all worth cleaning up. Smoothing that removes skin texture and reshaping that changes the proportions are not, because clients recognise both and they read as a false version of a body they live in. Ask before the session and keep the answer.
How do I stop a client feeling awkward in front of the camera?
Give her something specific to do with her hands and body every few seconds, and keep talking in plain physical instructions. Awkwardness usually comes from not knowing what is expected, not from the pose itself. Show her one or two frames early so she can see the result, then put the camera screen away and work from eye contact.
Should I ever photograph a plus size client from above?
Slightly above eye level, yes, because it flatters almost everyone. From a standing position over a client lying on a bed, no. That angle shortens the neck, stacks the hips and buries the chin. If you want a higher viewpoint for a reclining pose, get it by raising the camera twenty or thirty centimetres rather than by climbing on the bed.